Eyelash Lift: Free Training
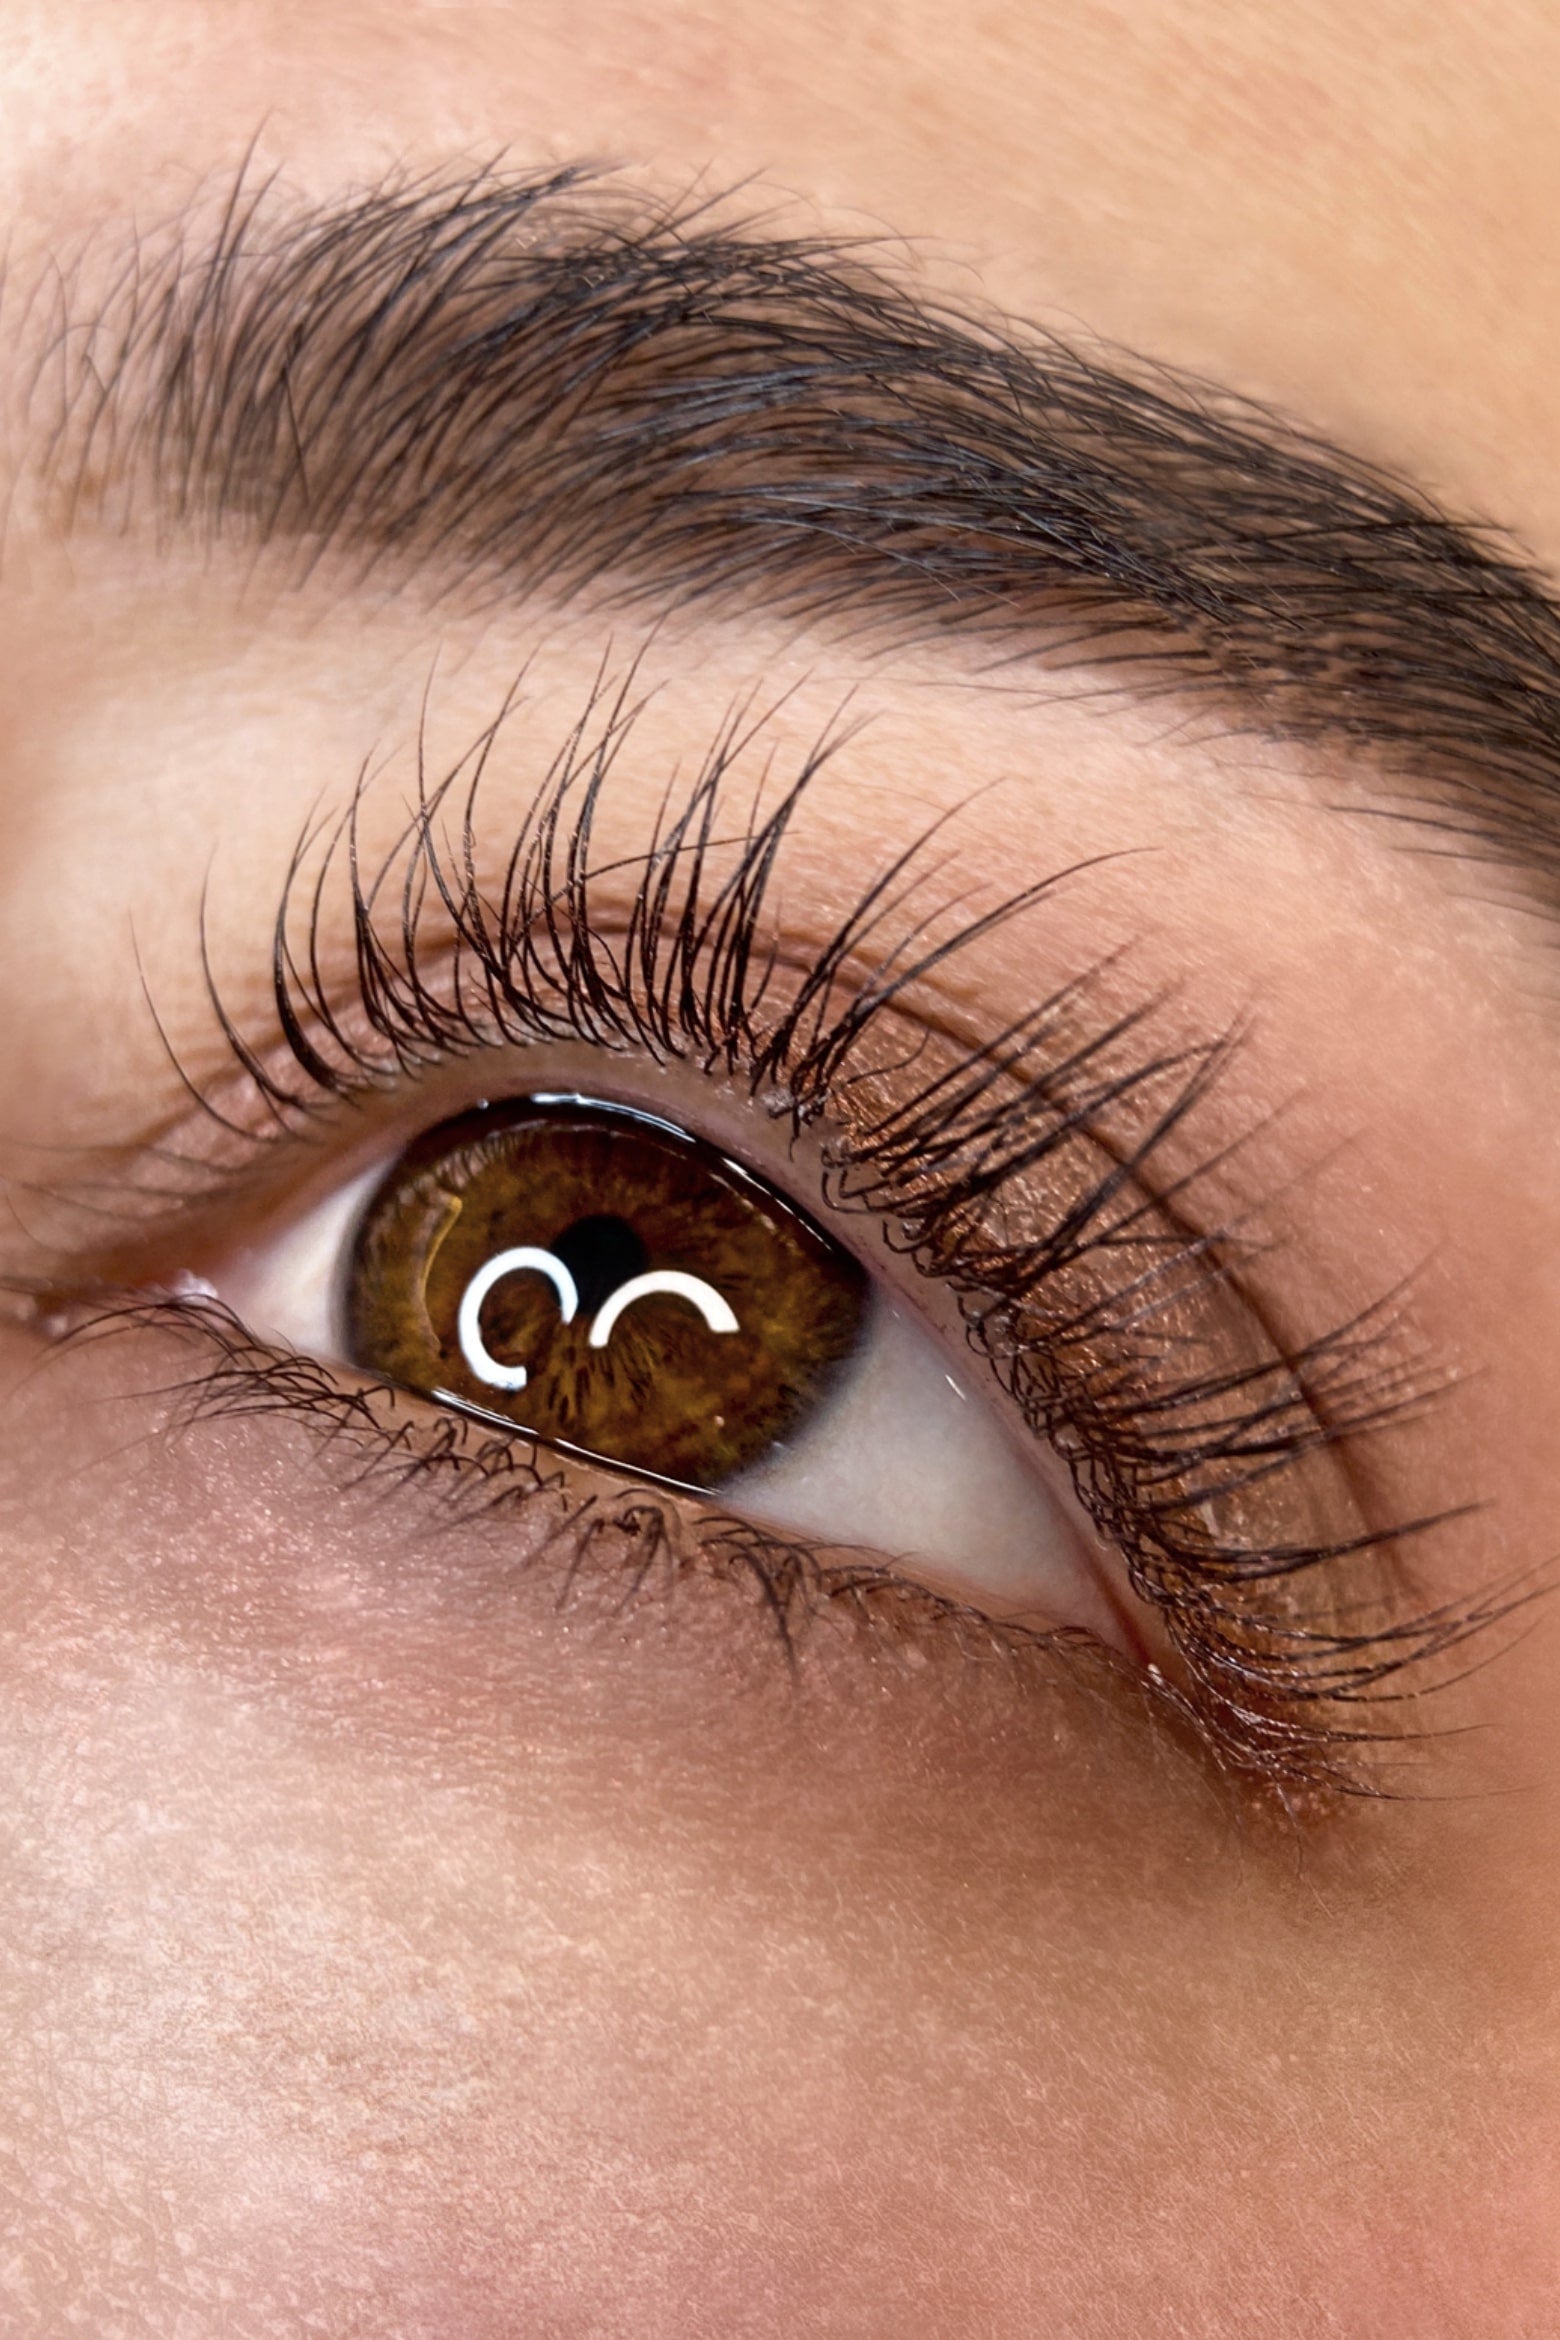
Les cils se décollent du bigoudi pendant la pose : que faire ?
Si vous constatez que les cils se décollent facilement du bigoudi, cela ne provient pas de nos produits.
Ce phénomène est lié aux bigoudis collants, qui peuvent être légèrement plus difficiles à travailler et ont tendance à se décoller pendant la pose.
Nous vous recommandons, dans ce cas, d’utiliser d’autres types de bigoudis afin d’obtenir une meilleure adhérence et un travail plus confortable.
Vous pouvez aussi ajouter davantage de colle.

How to do eyelash lifts with flawless results

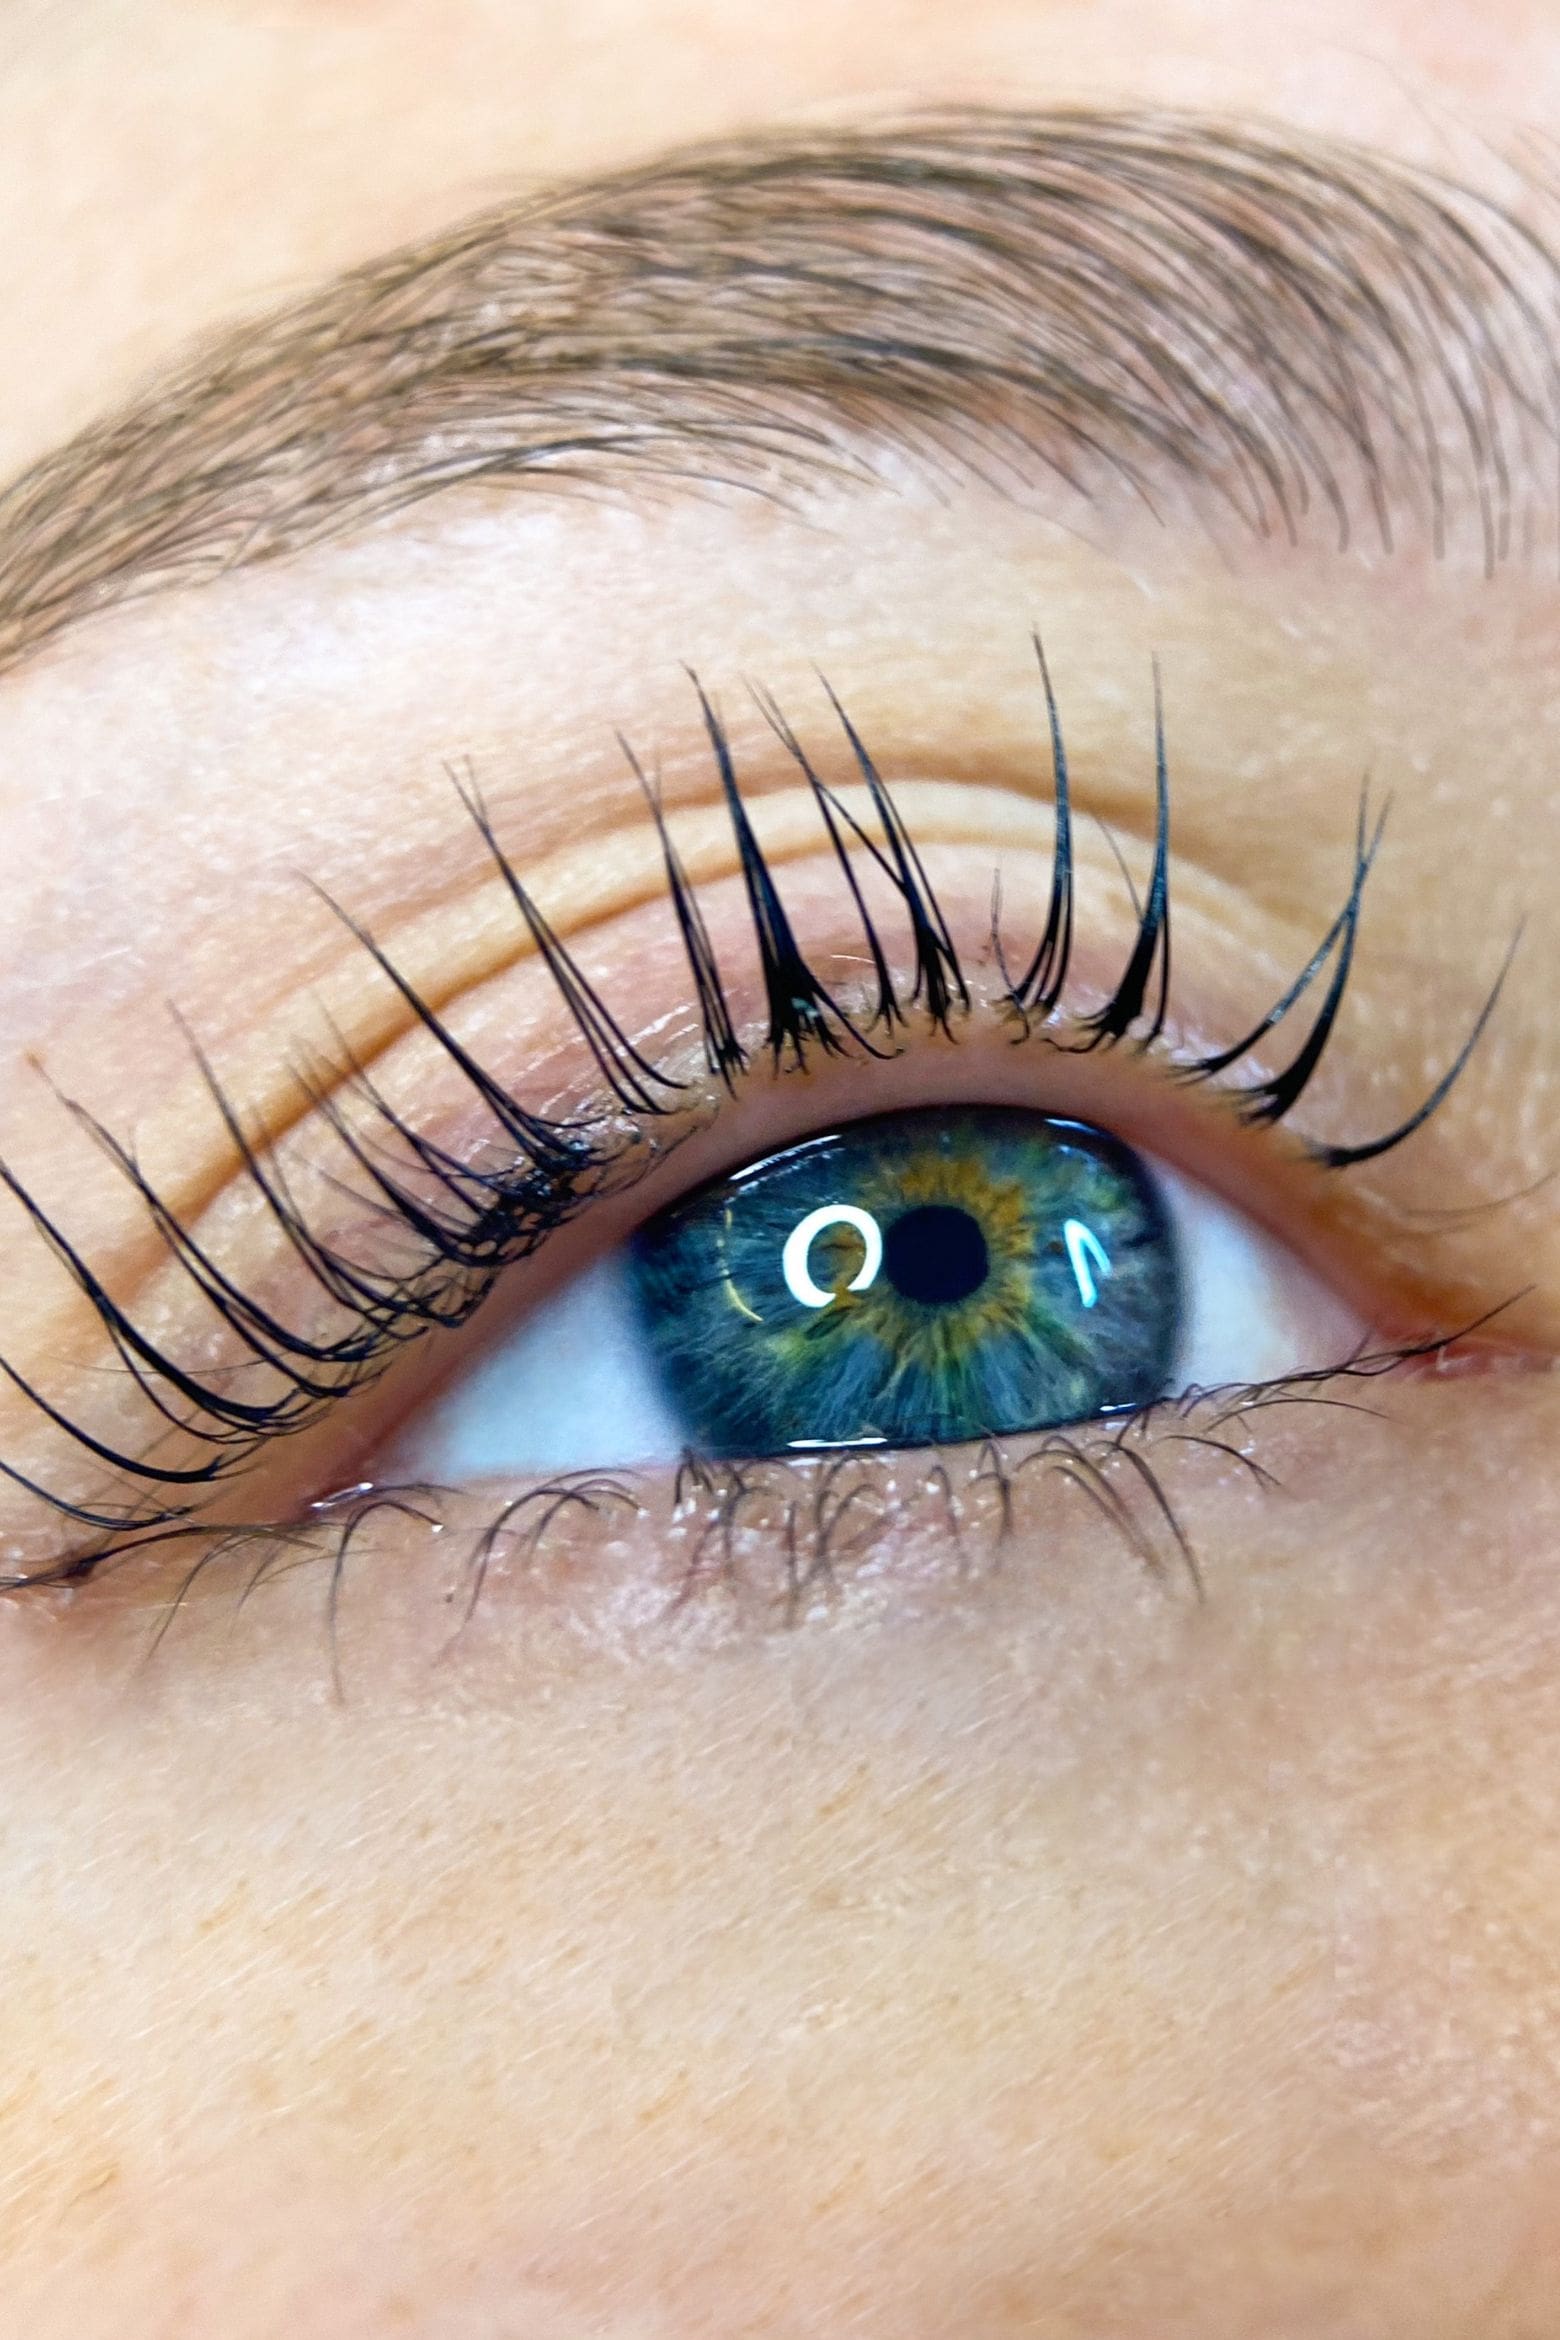
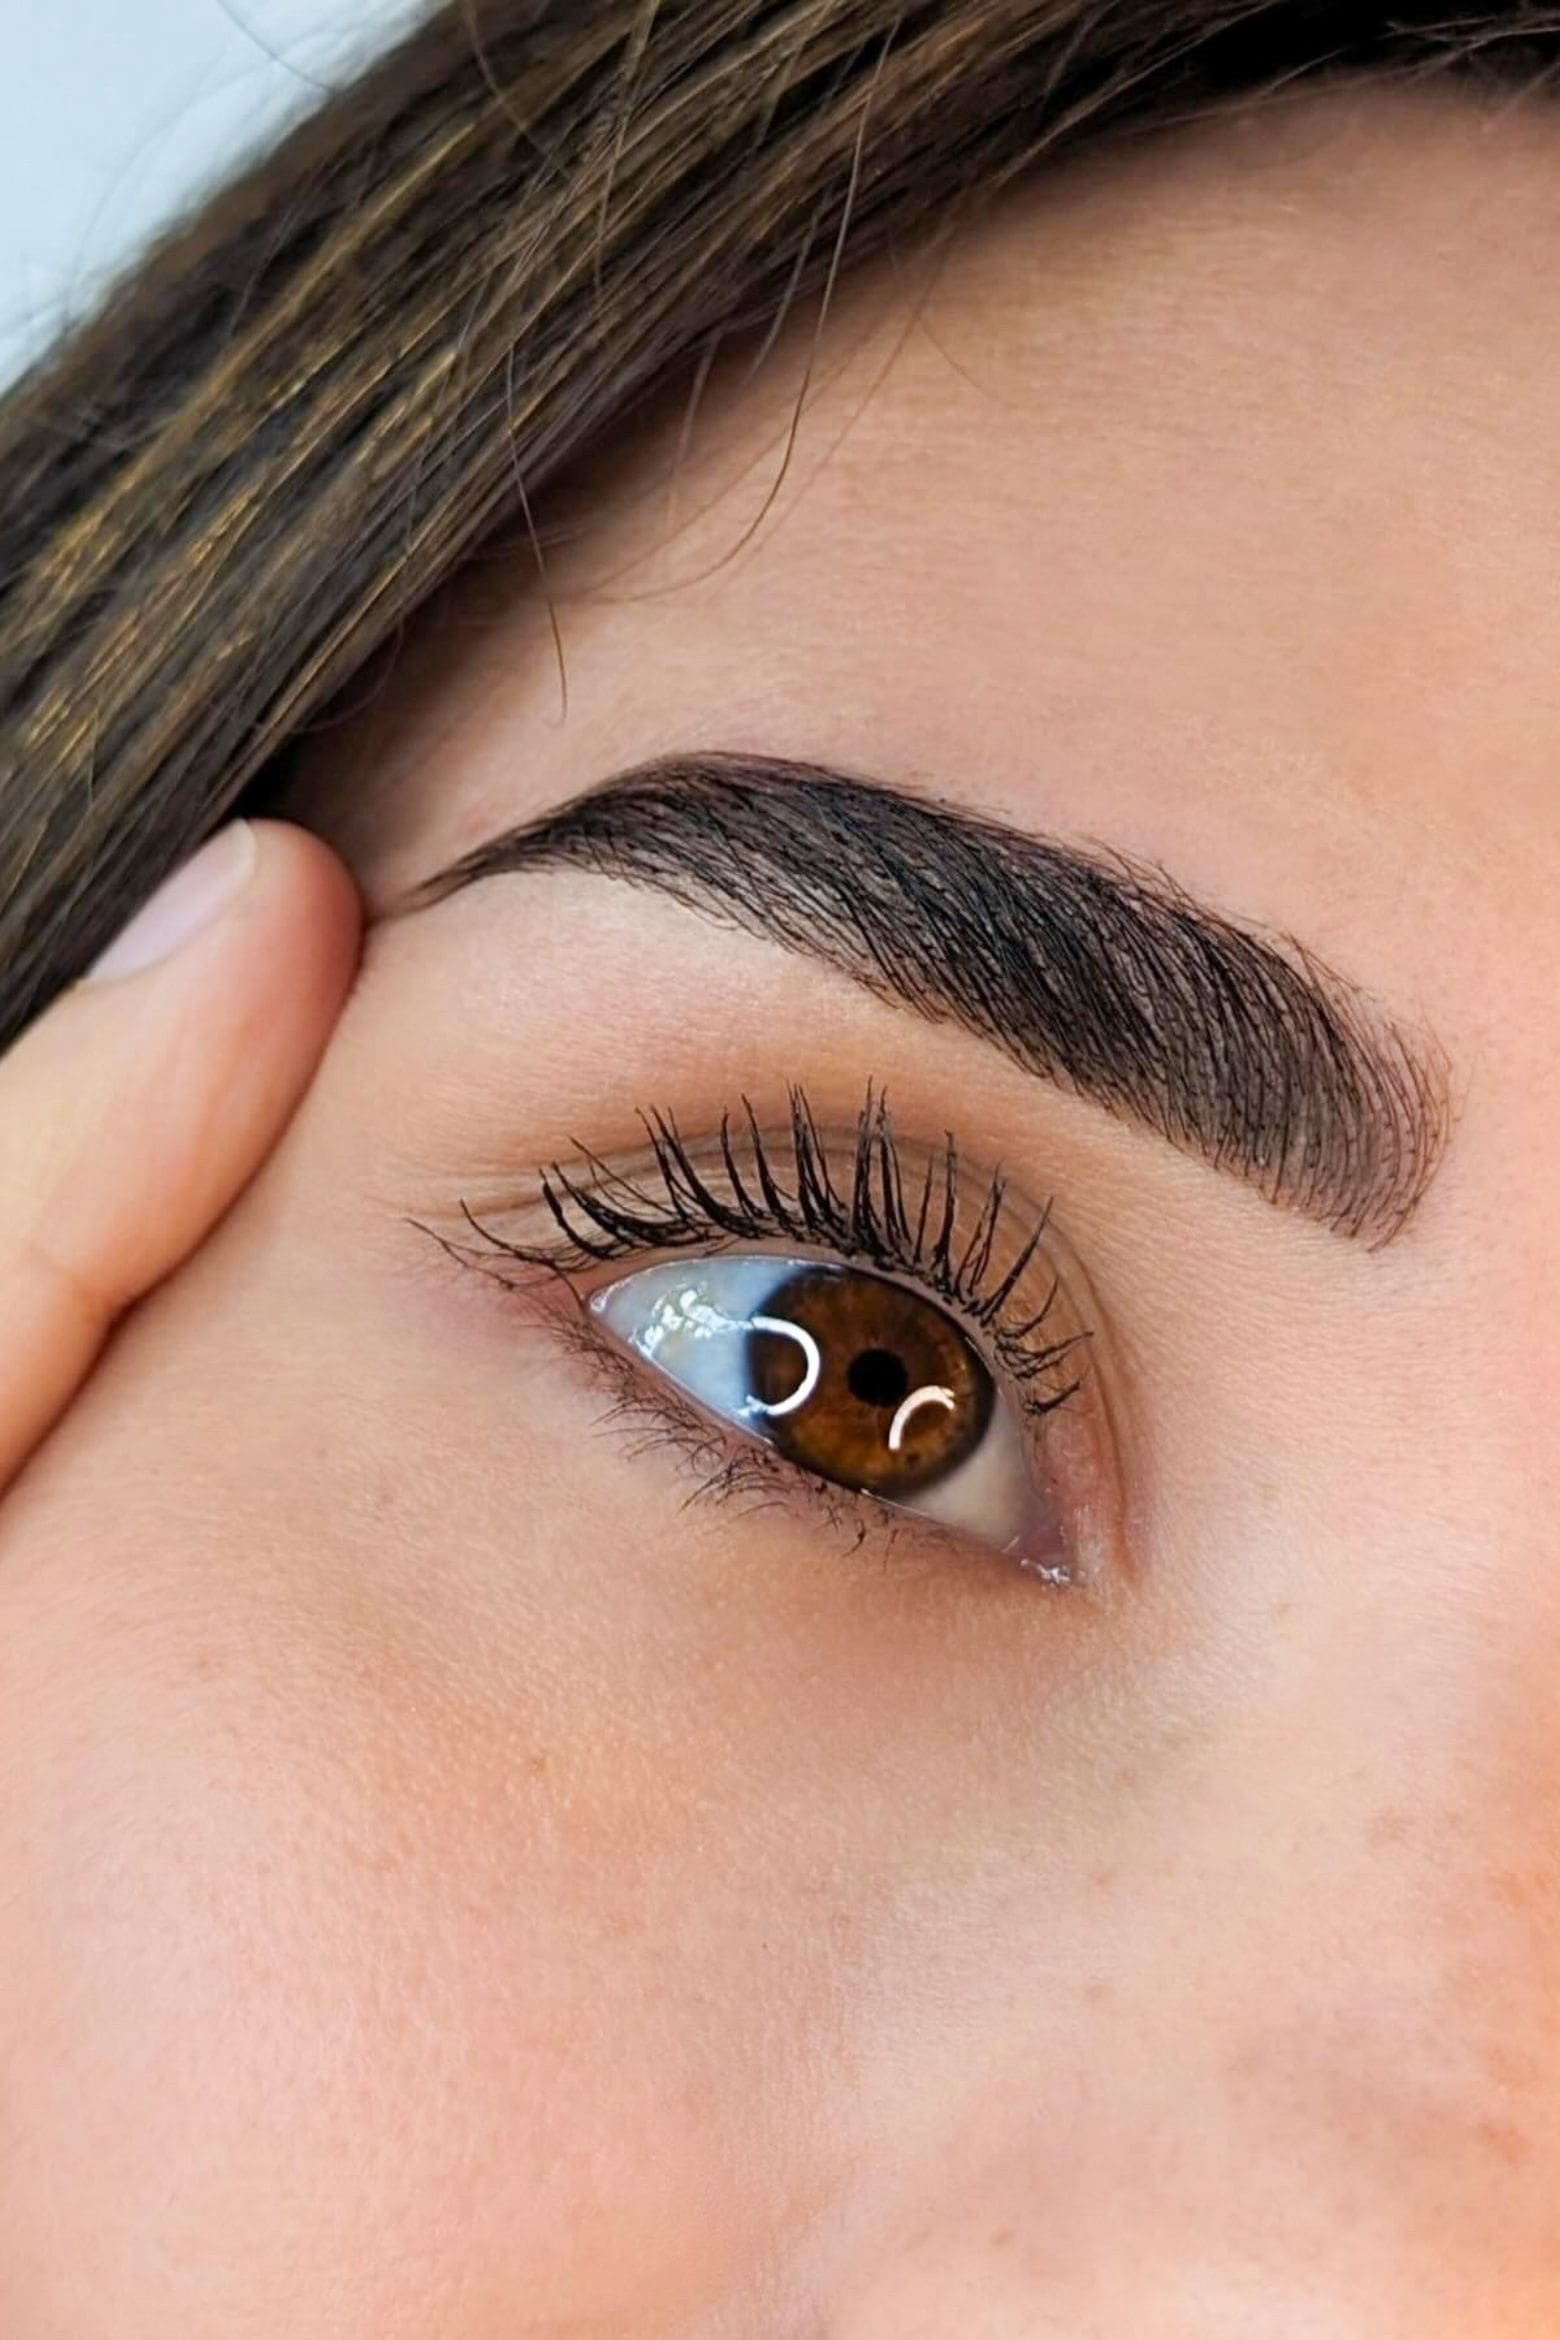
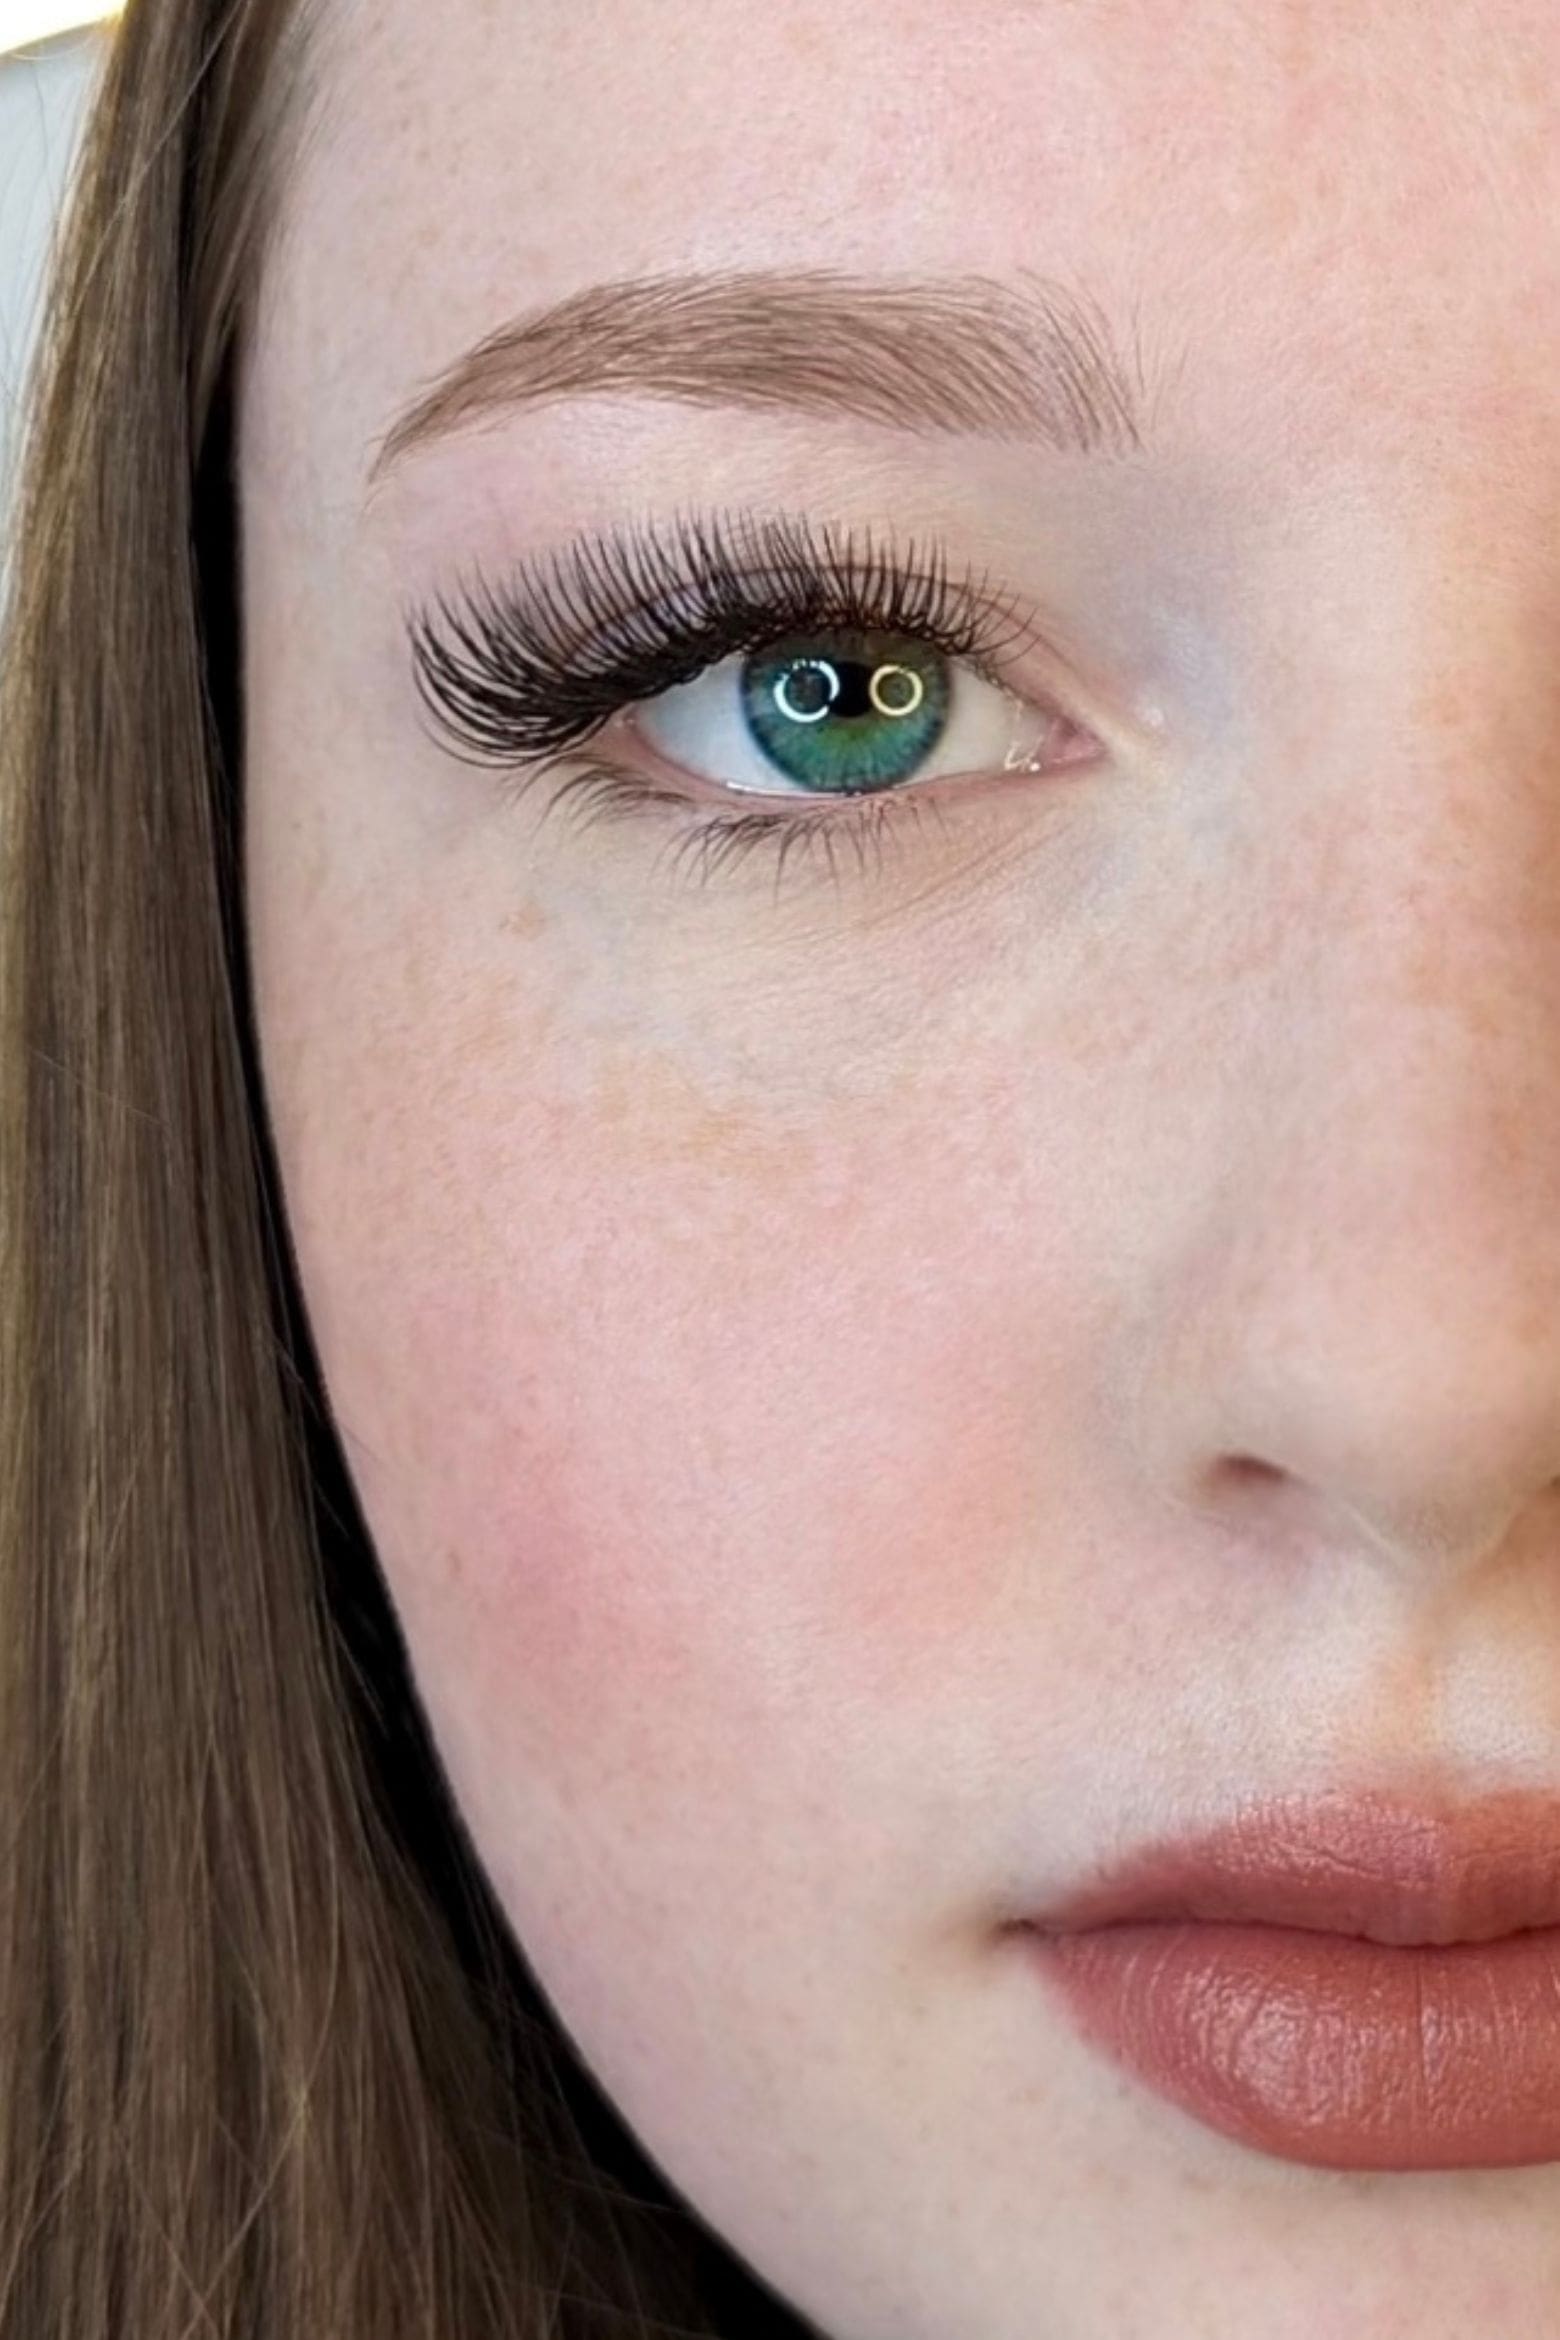
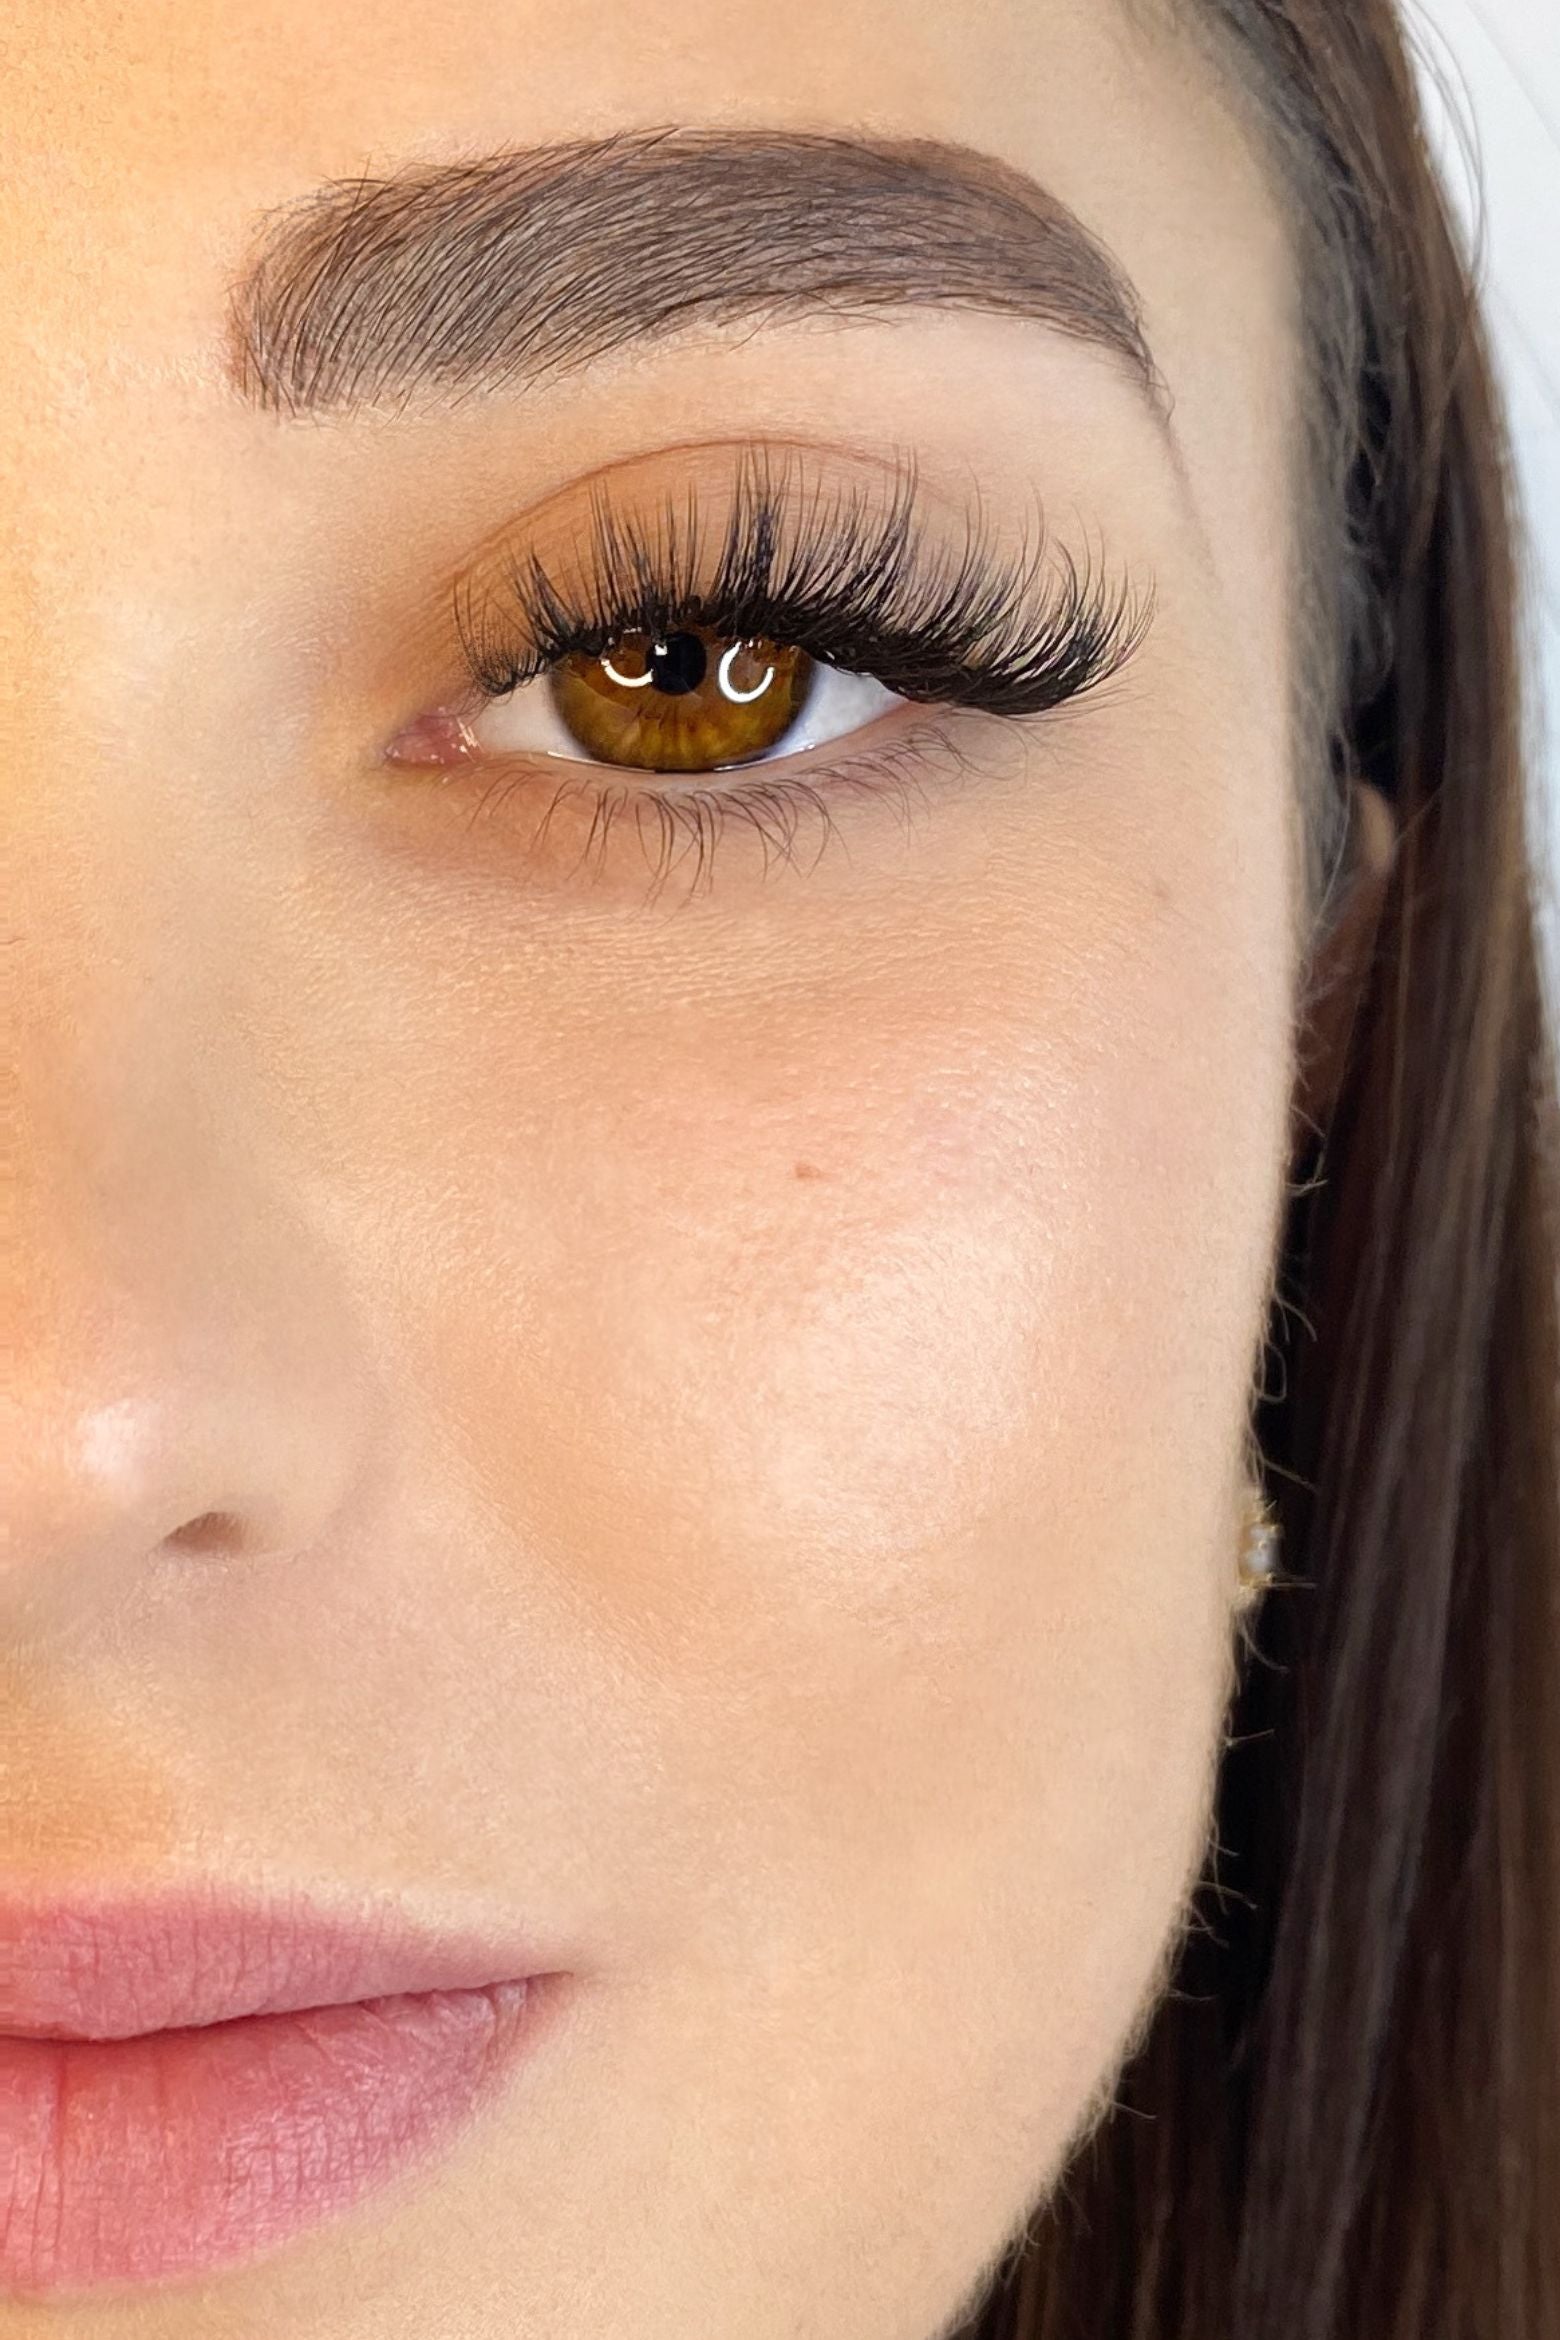
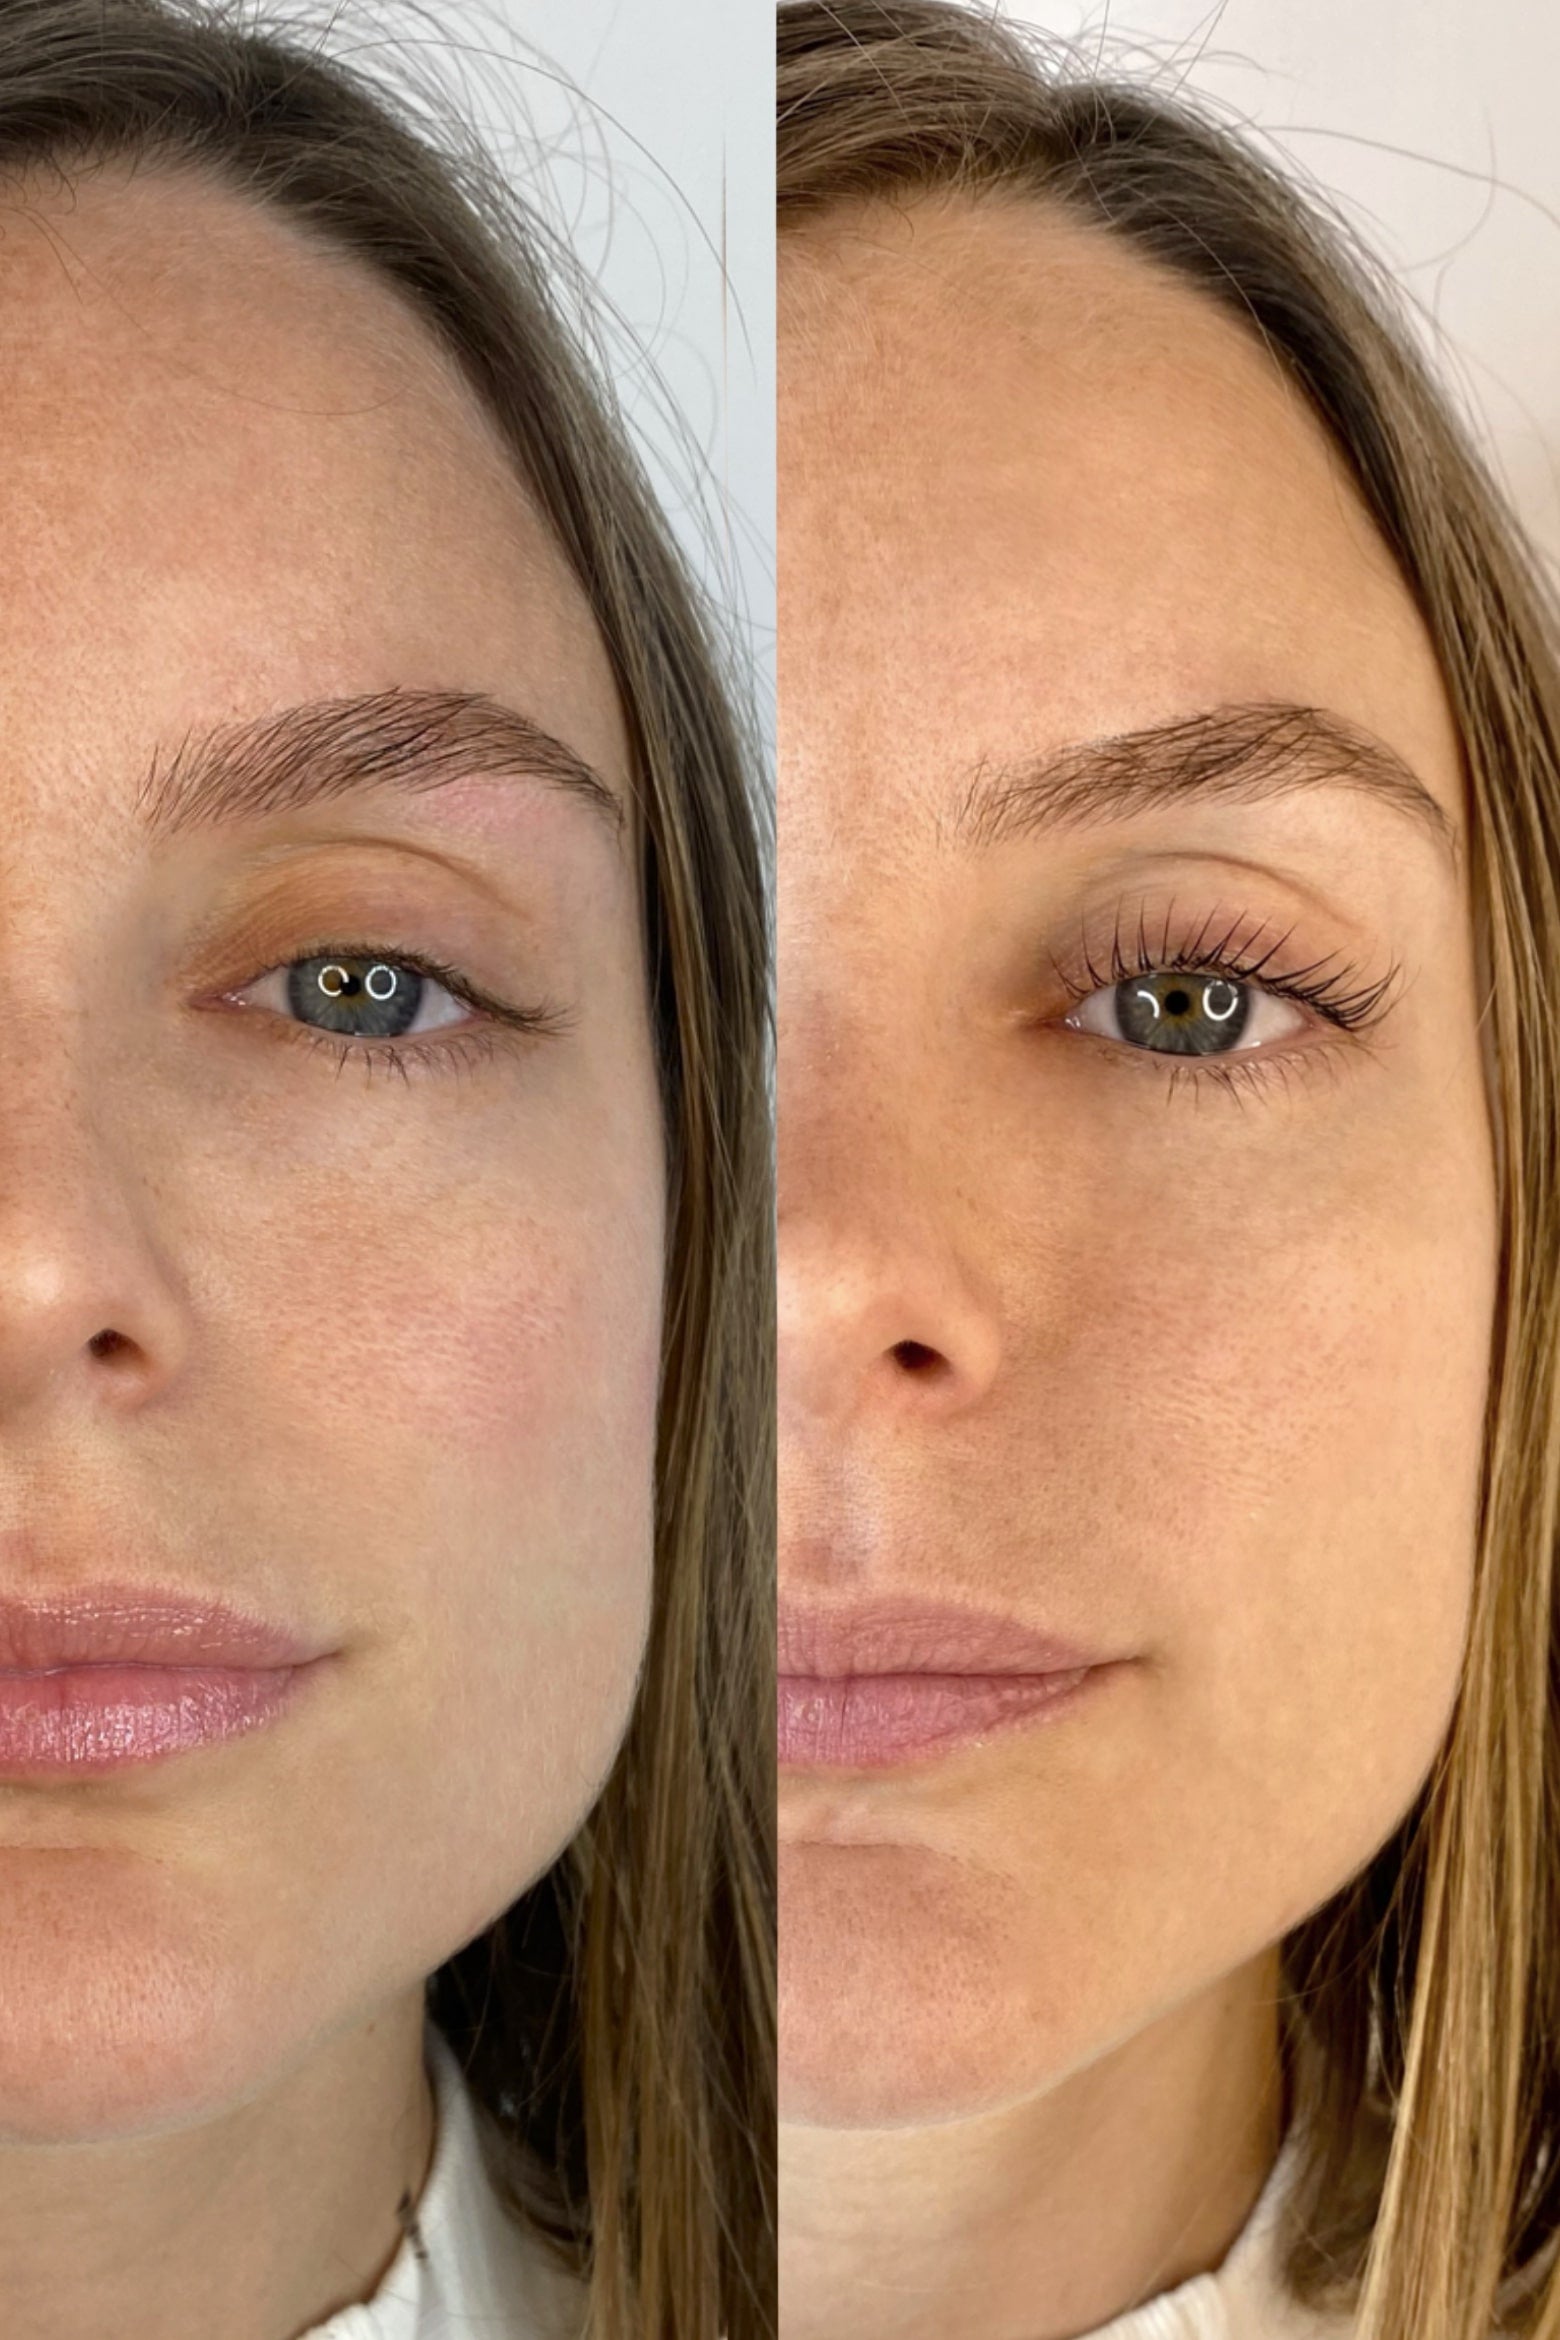
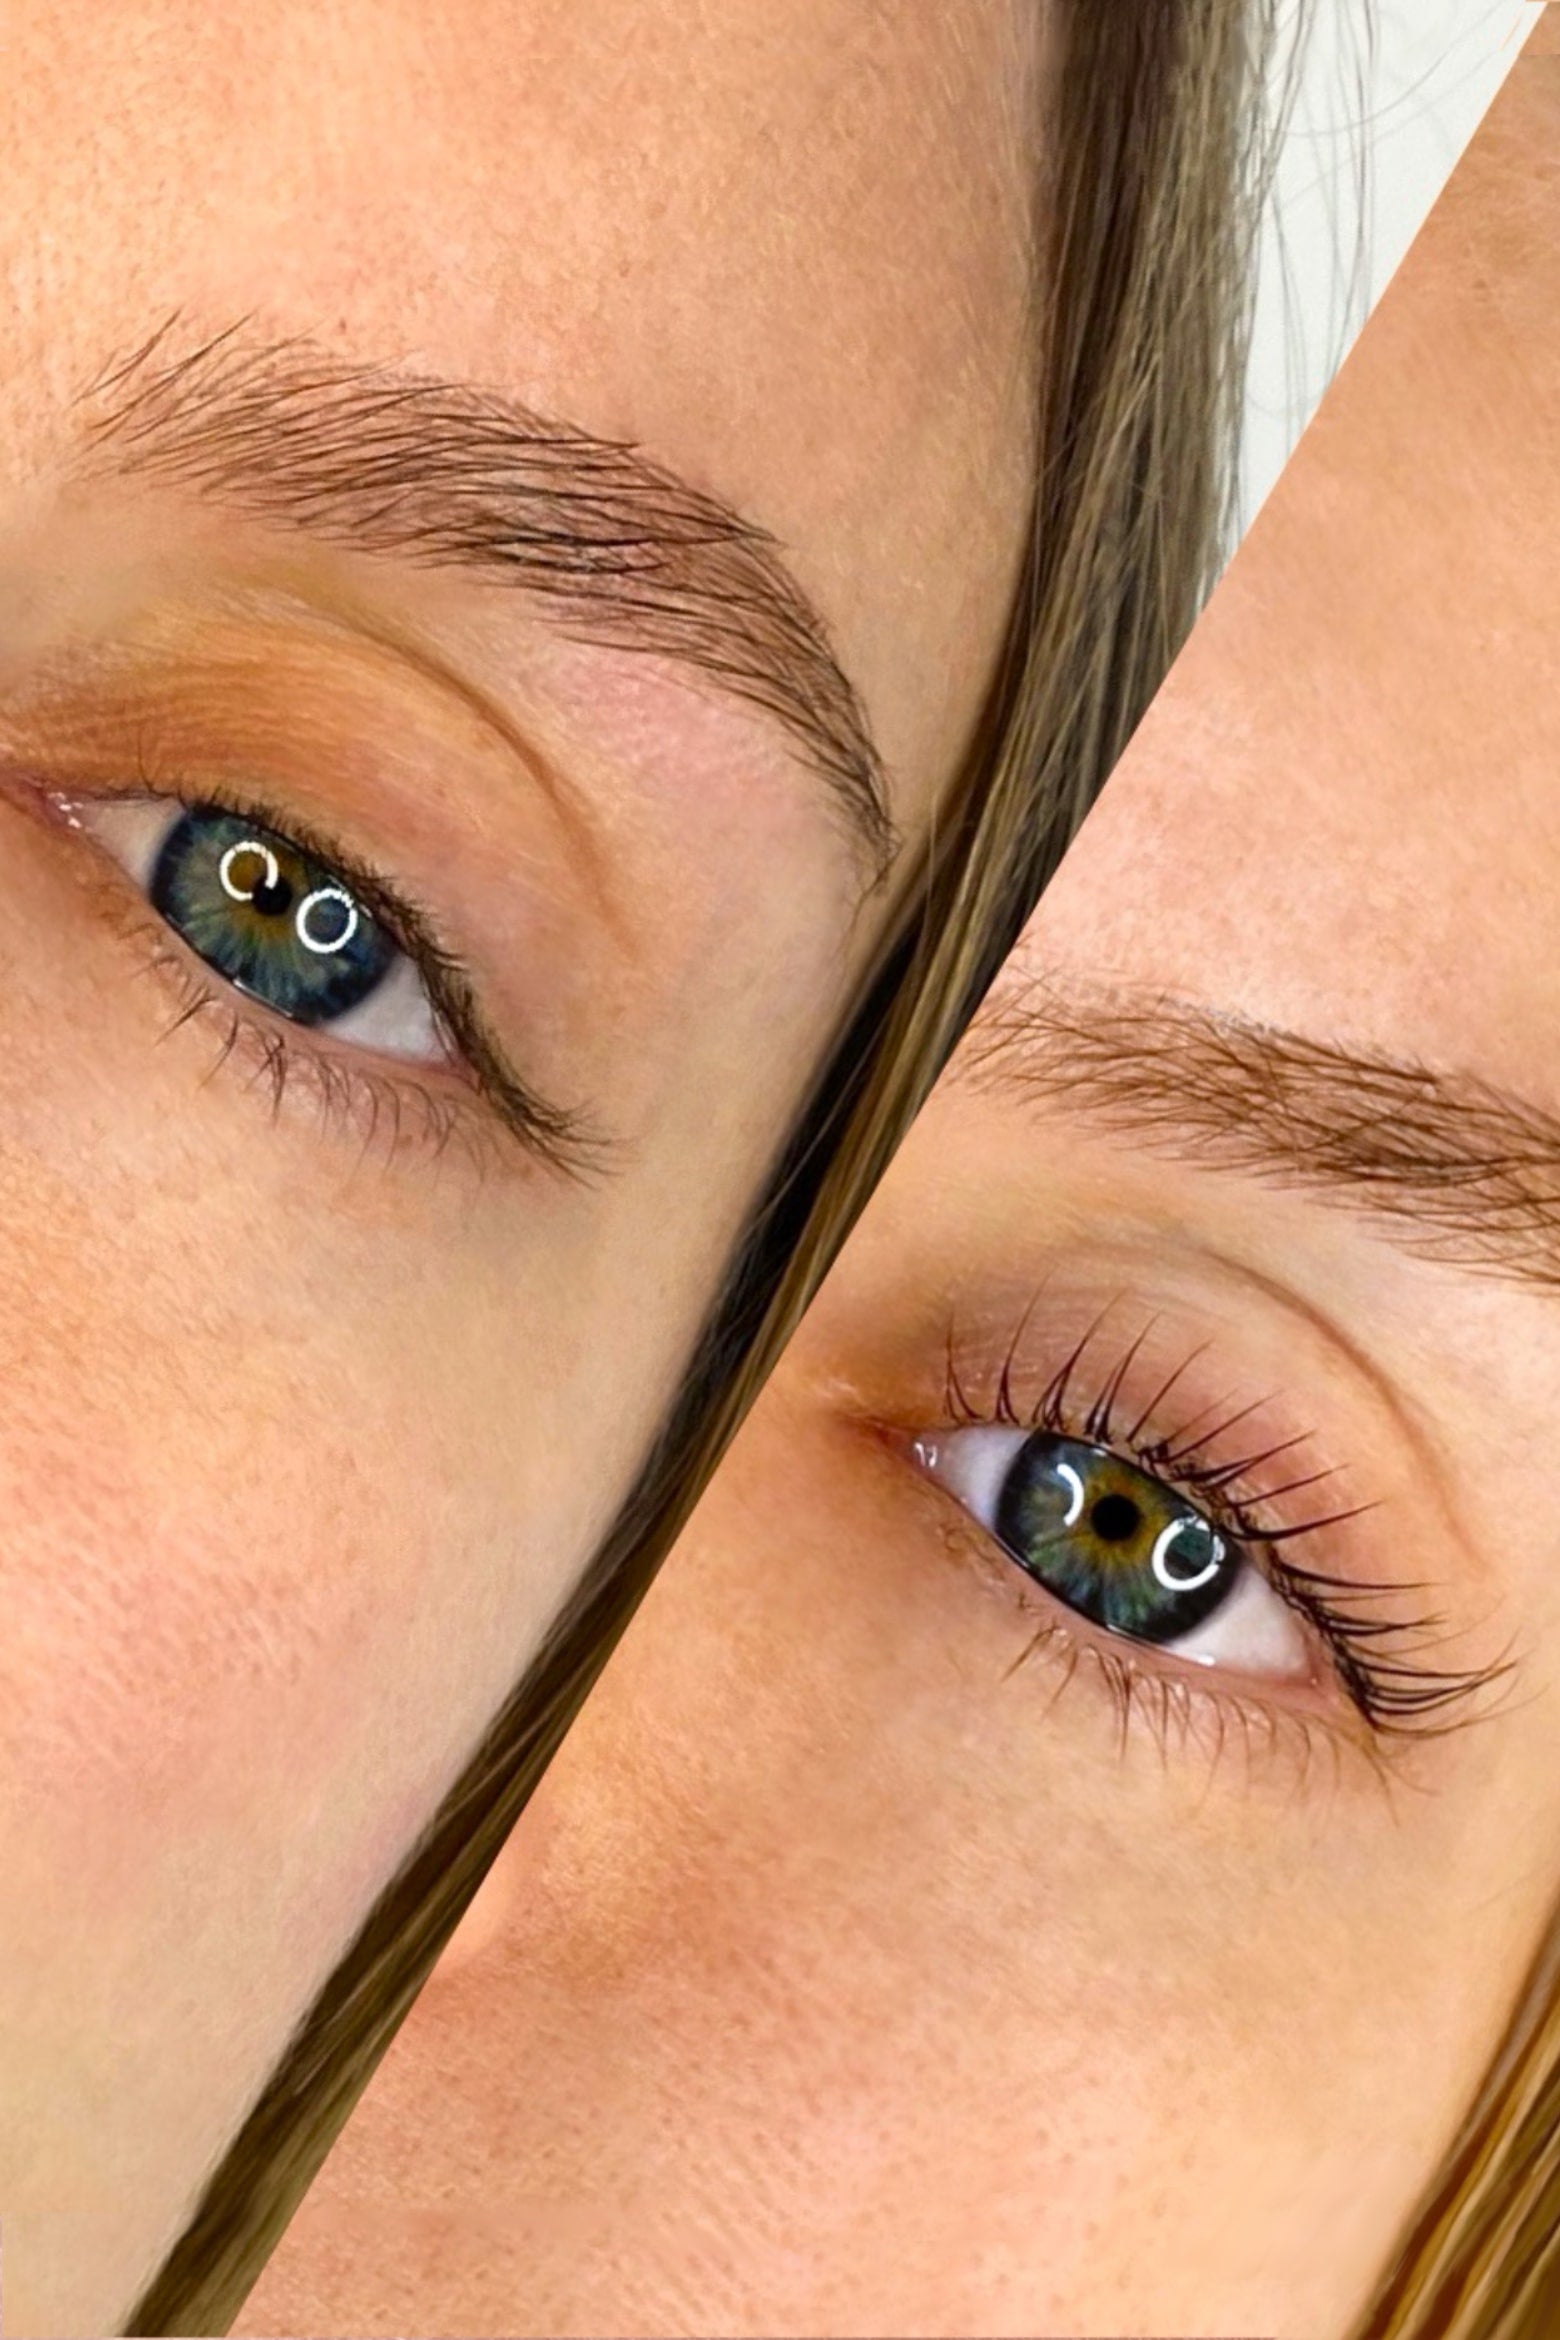
Before / After
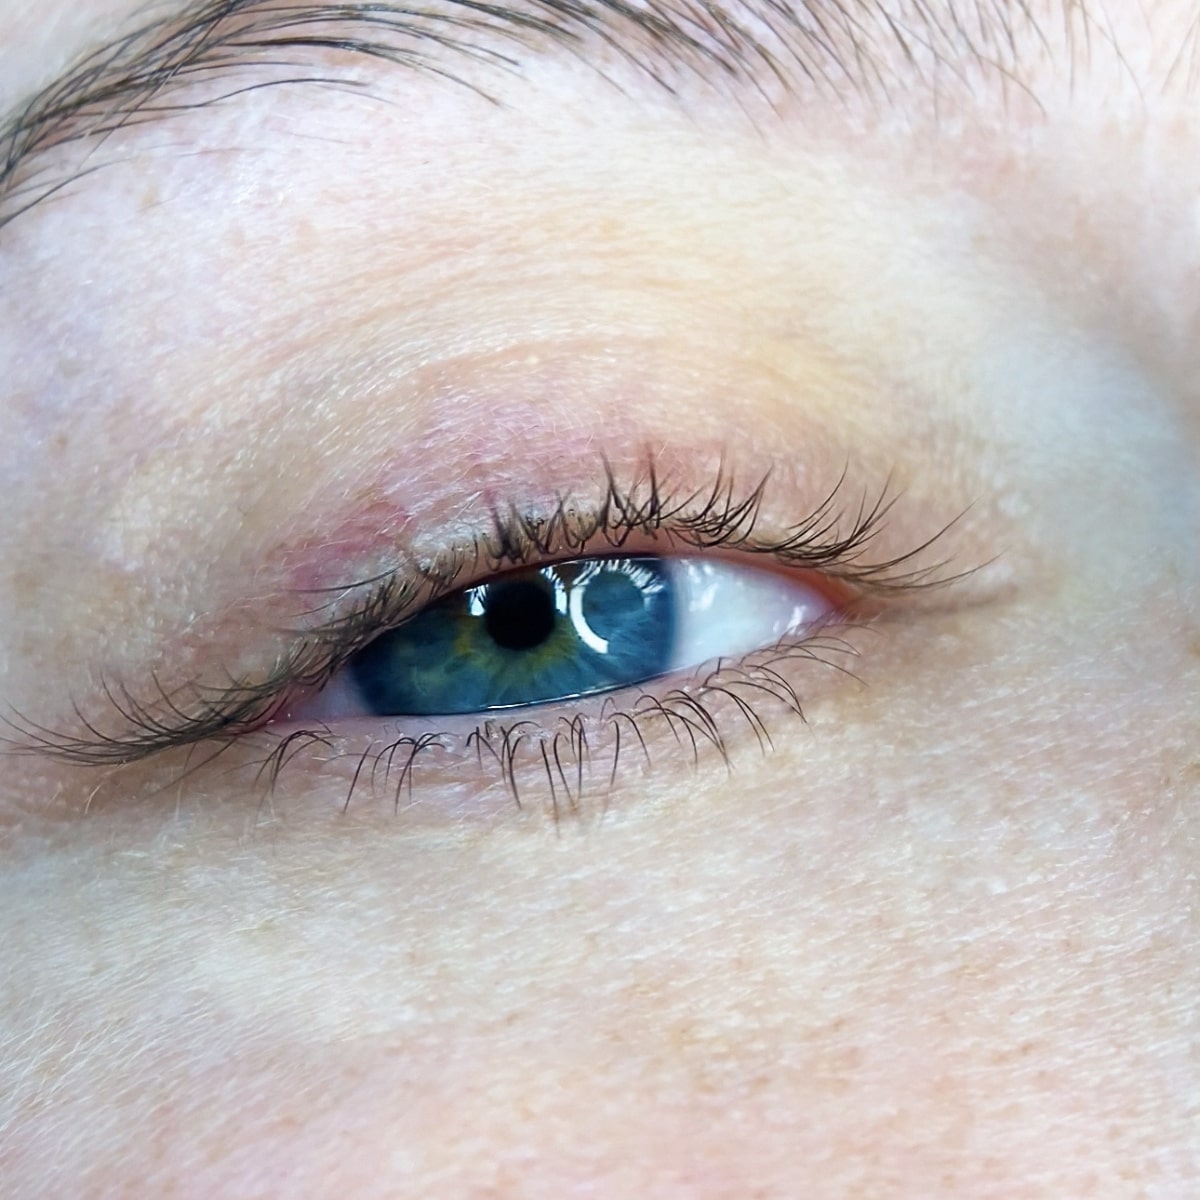
Before
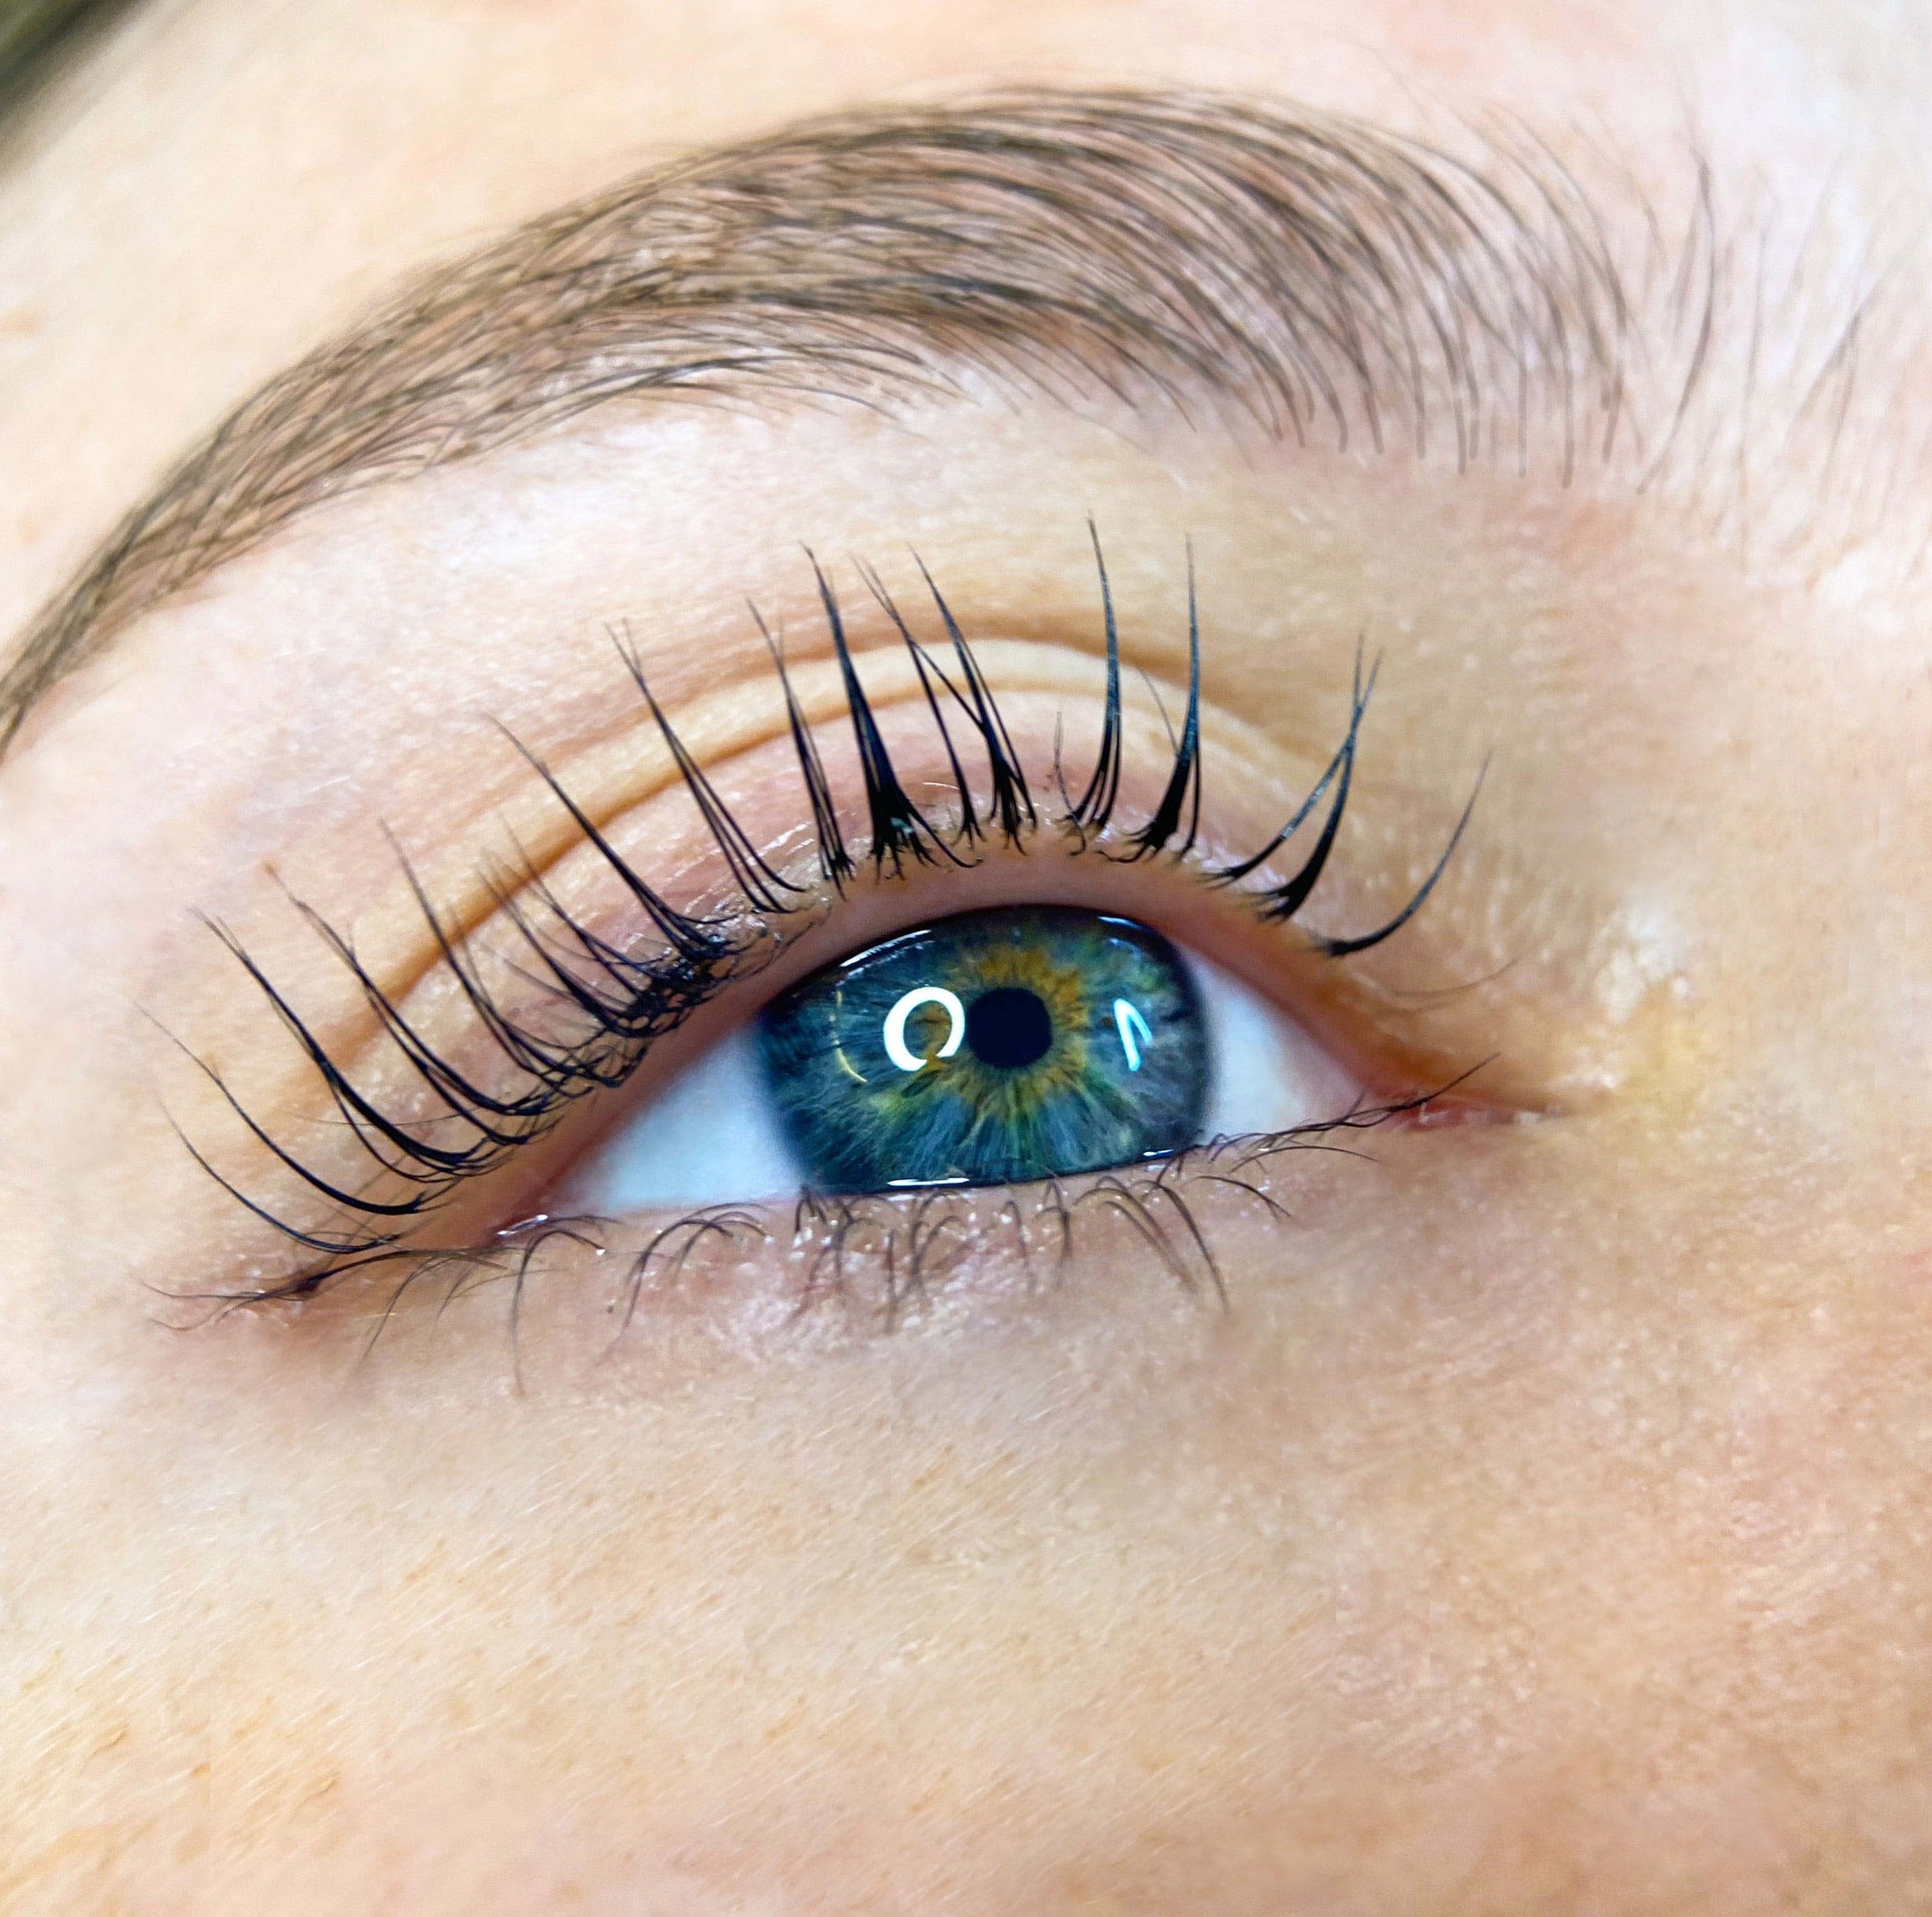
After
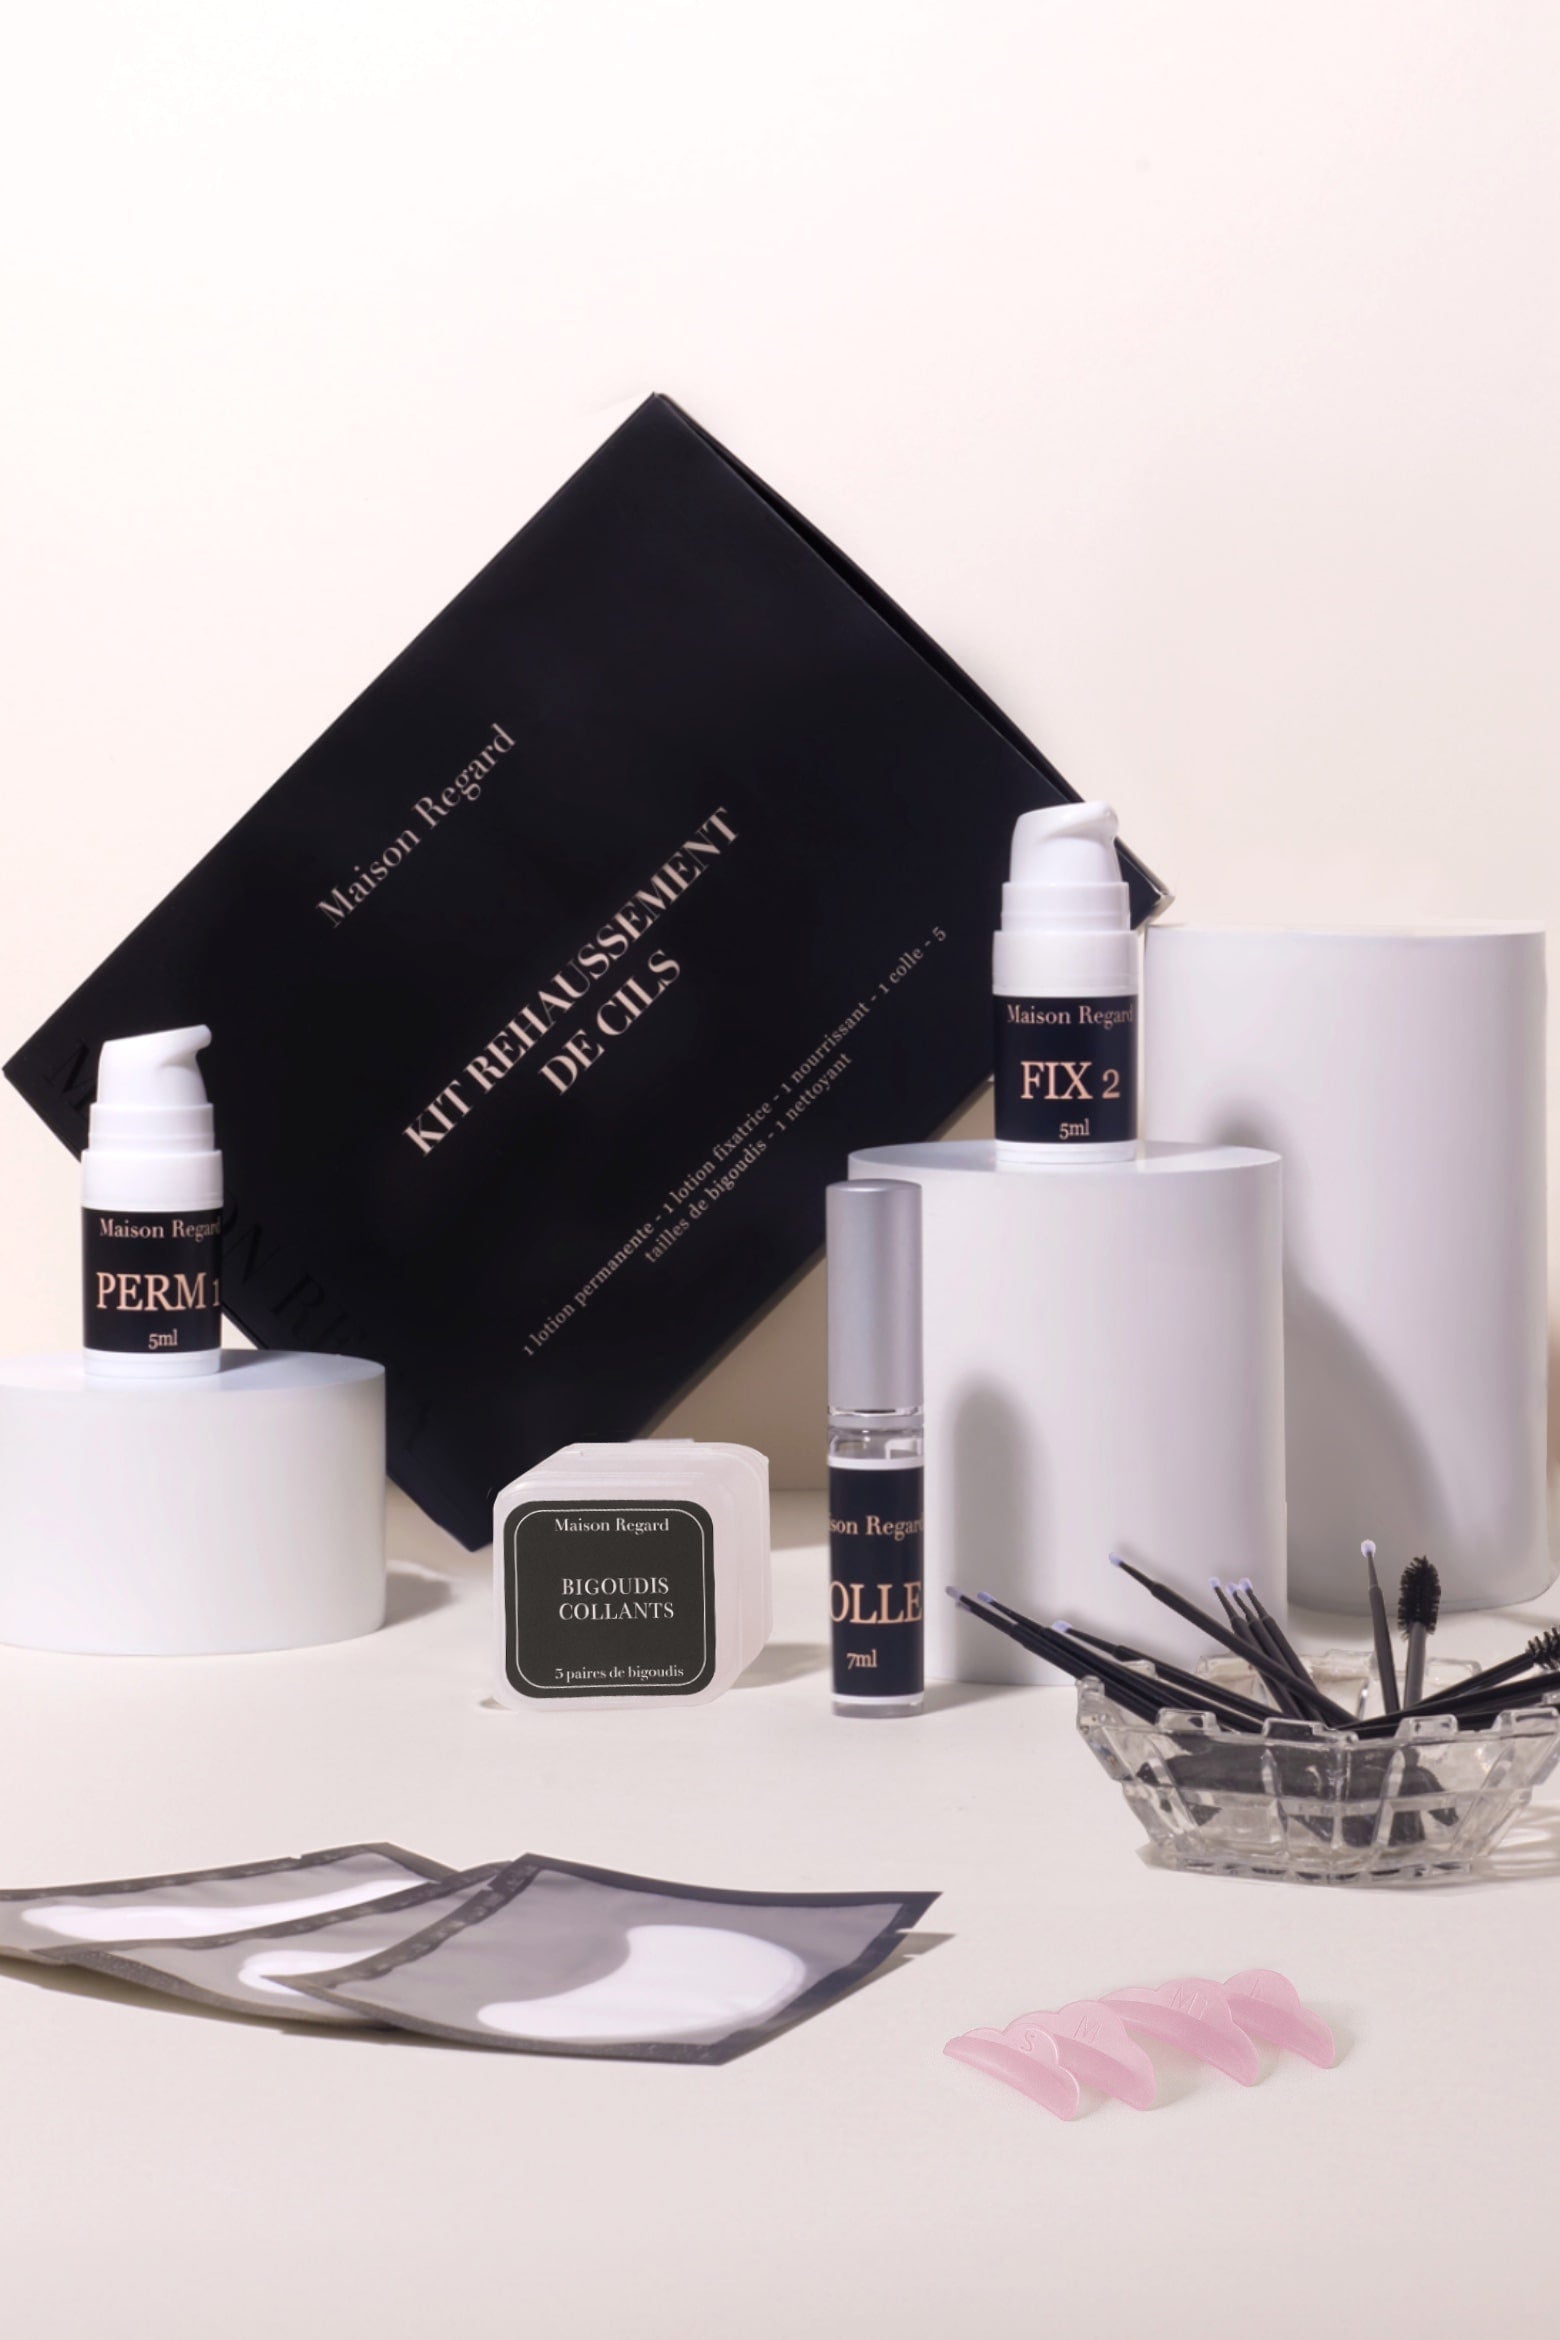
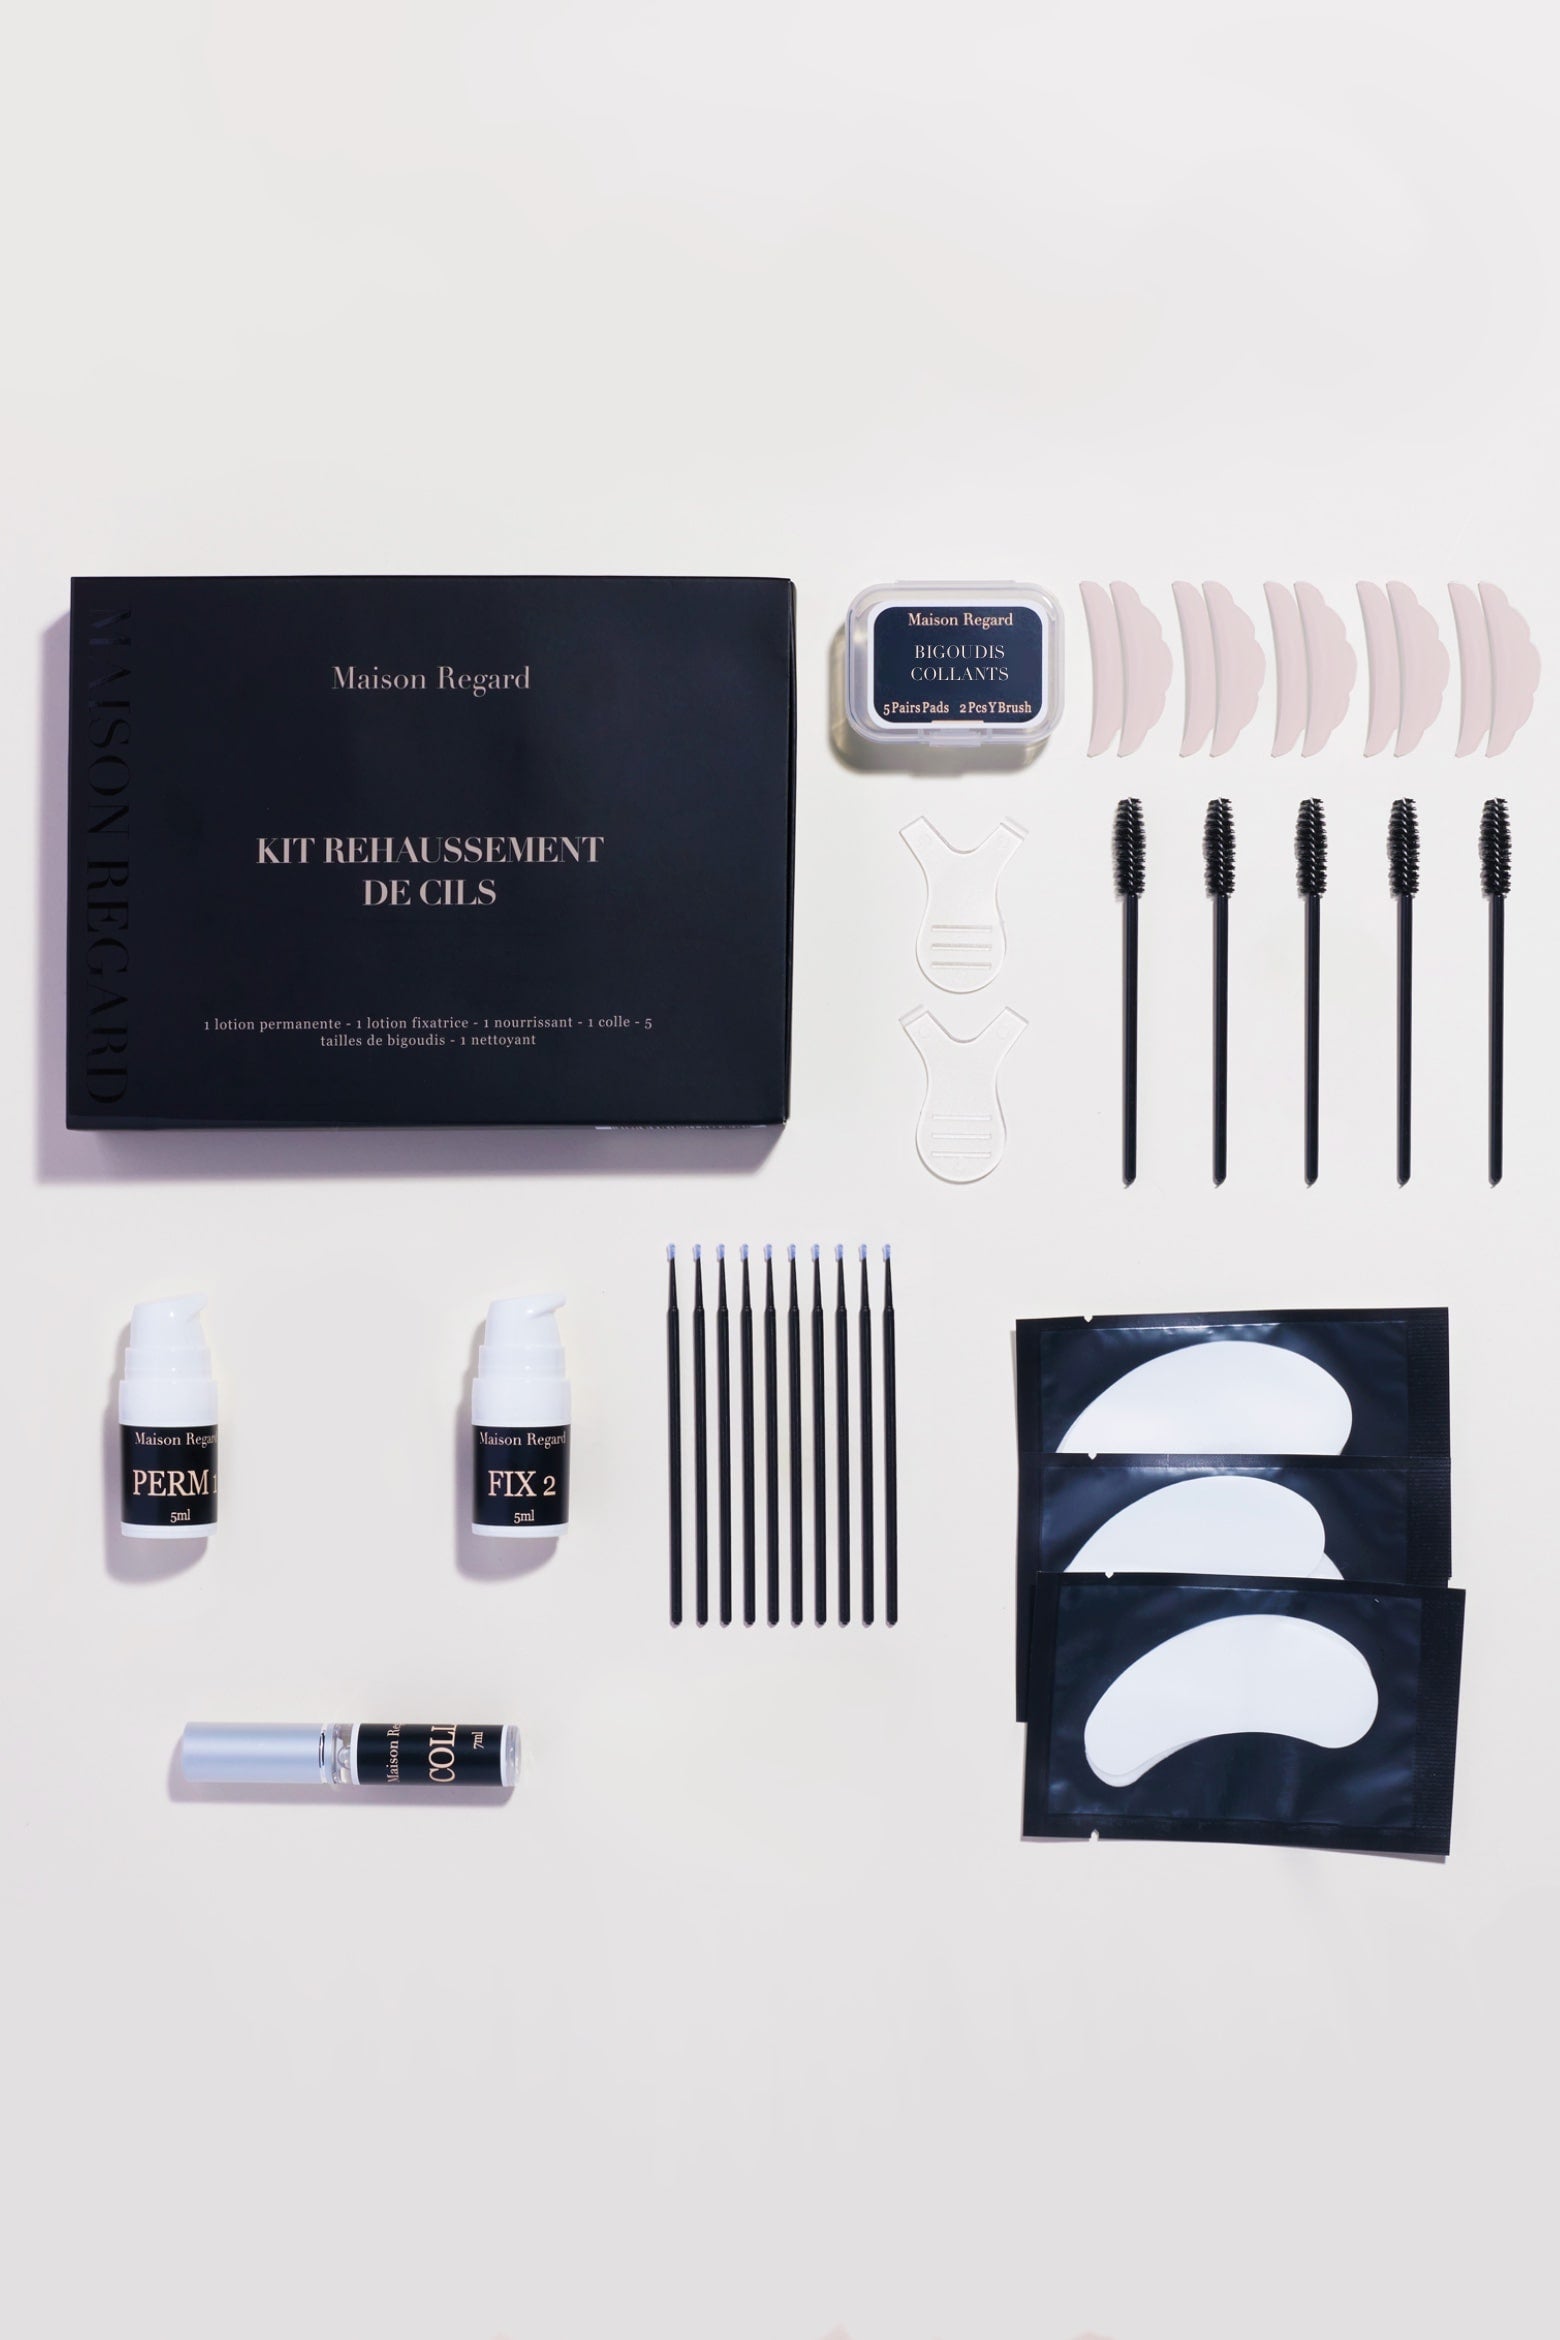
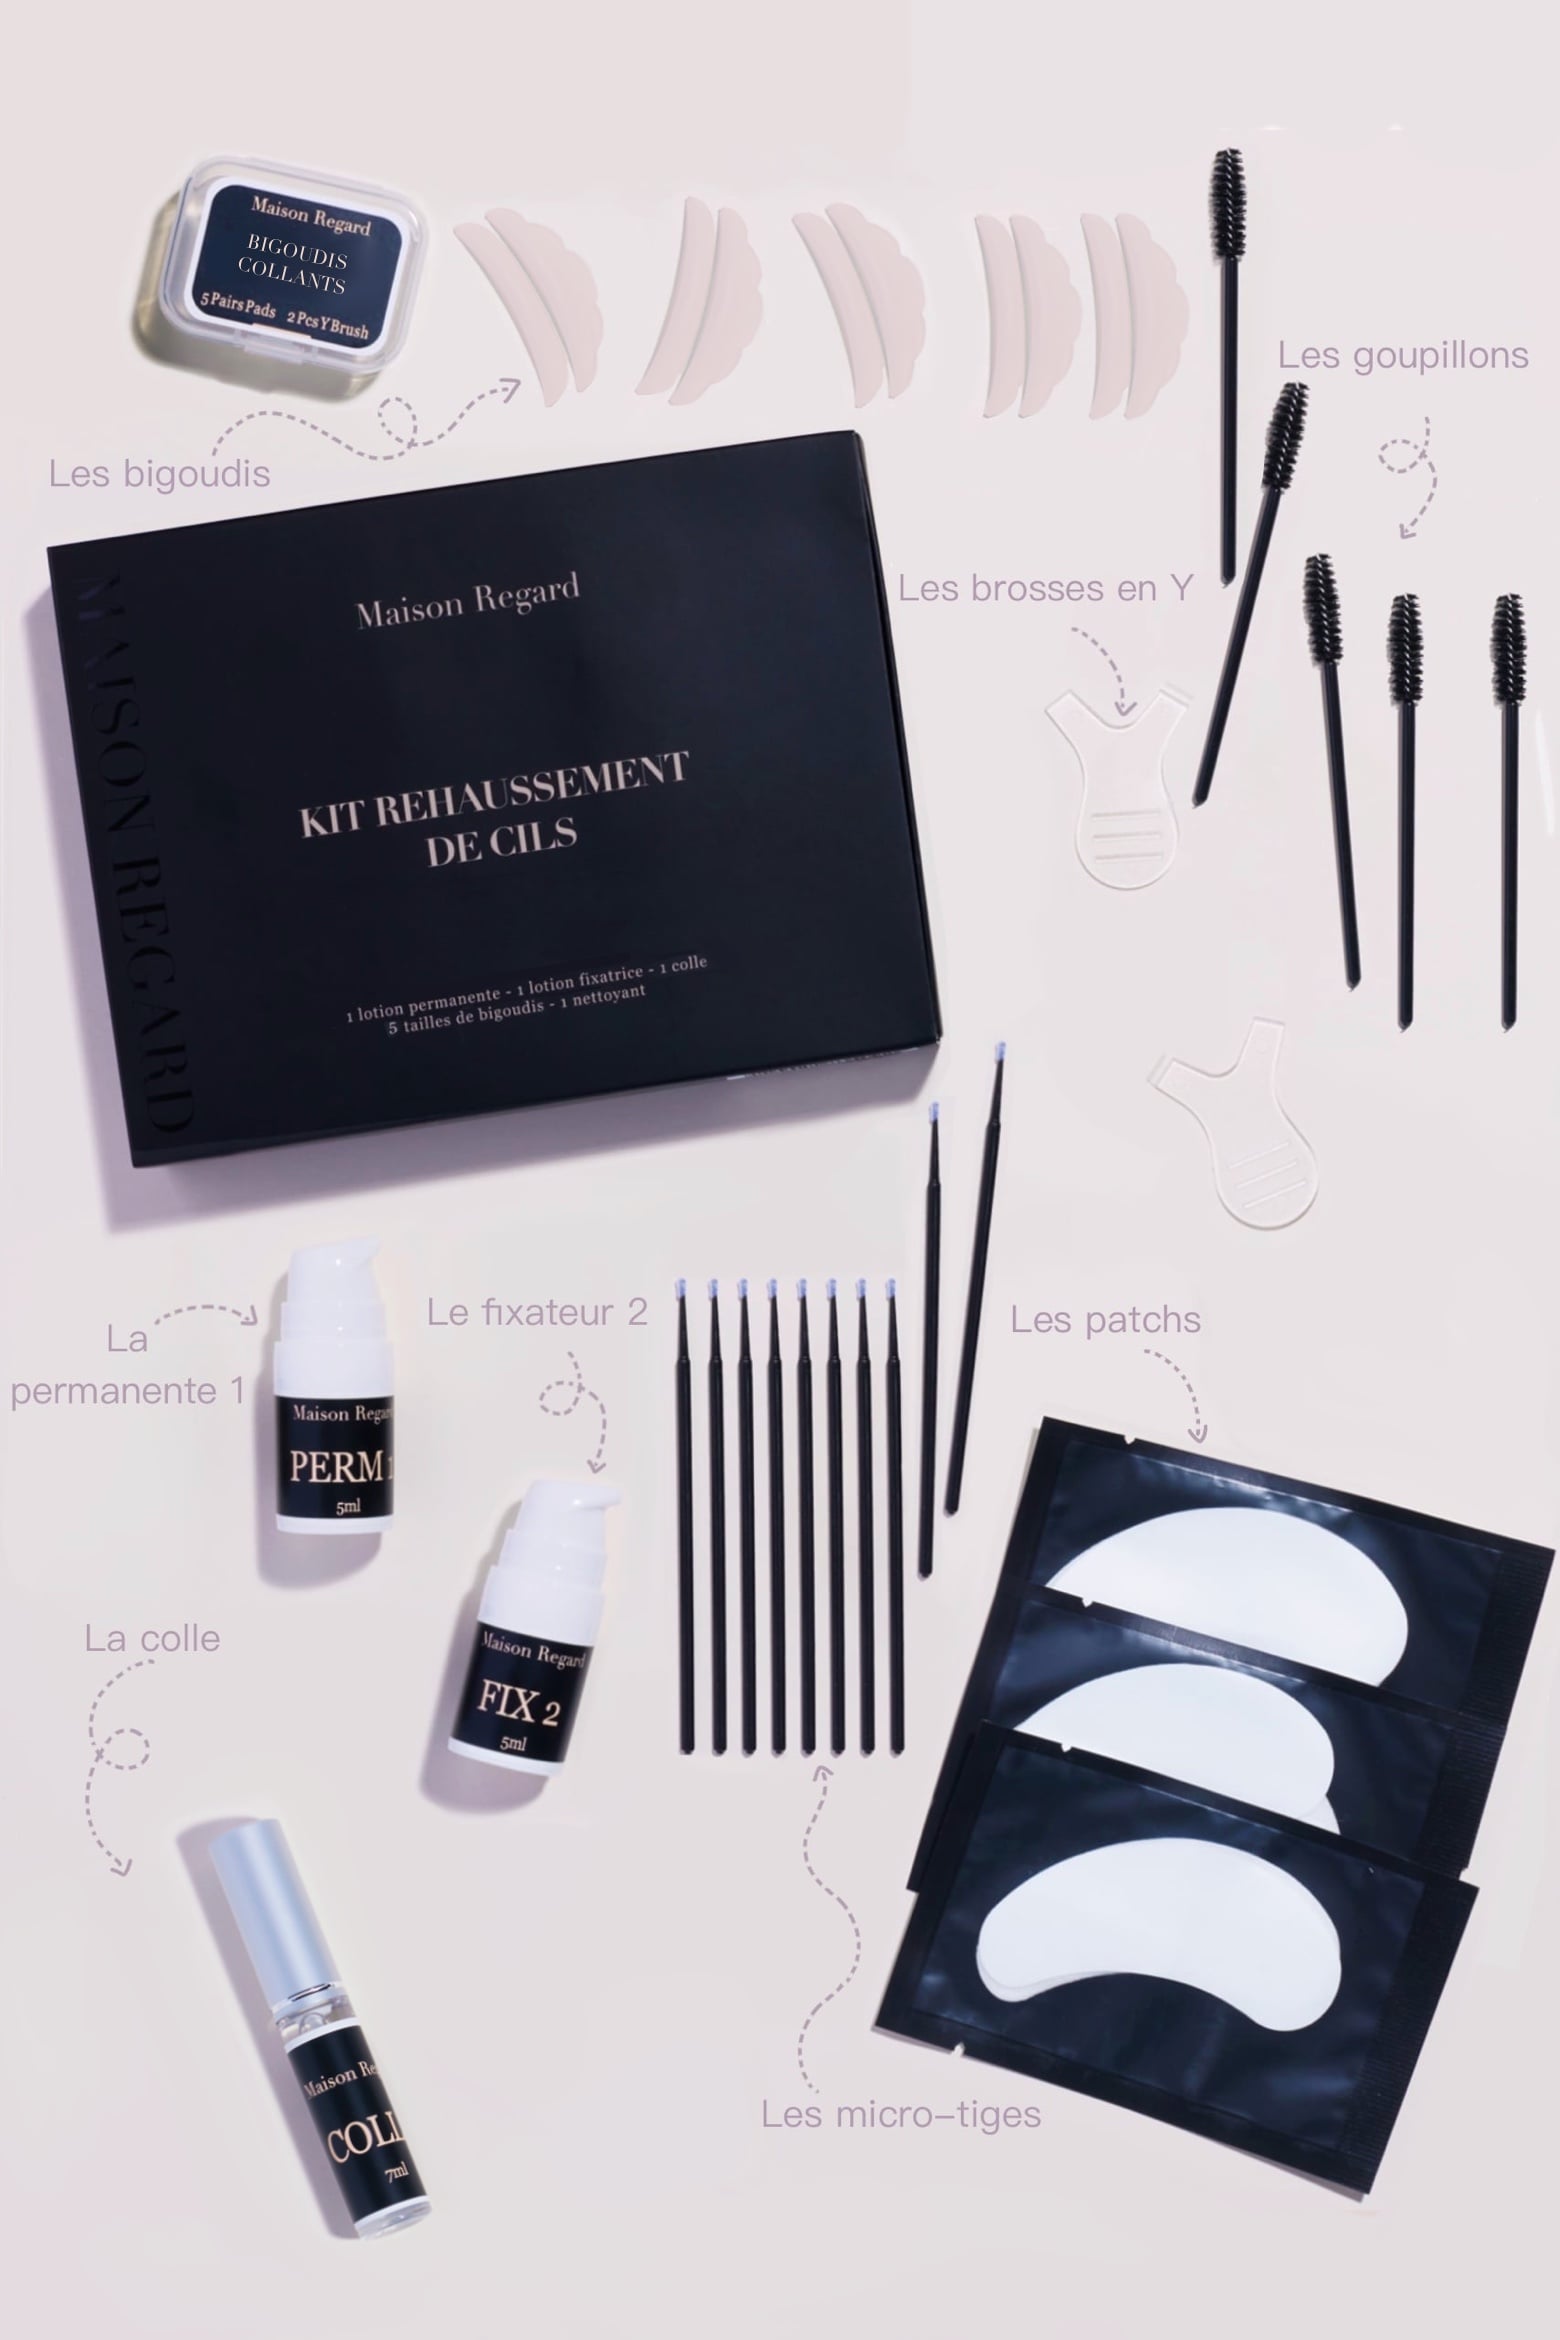
Transform your look with our Lash Lift Kit, designed to deliver beautifully curled, naturally-looking lashes in just a few simple steps . Ideal for those who want to achieve intense eye looks without resorting to extensions or mascara, our kit is your ultimate solution for everyday eye lift .
✅ 12 to 15 eyelash lift procedures
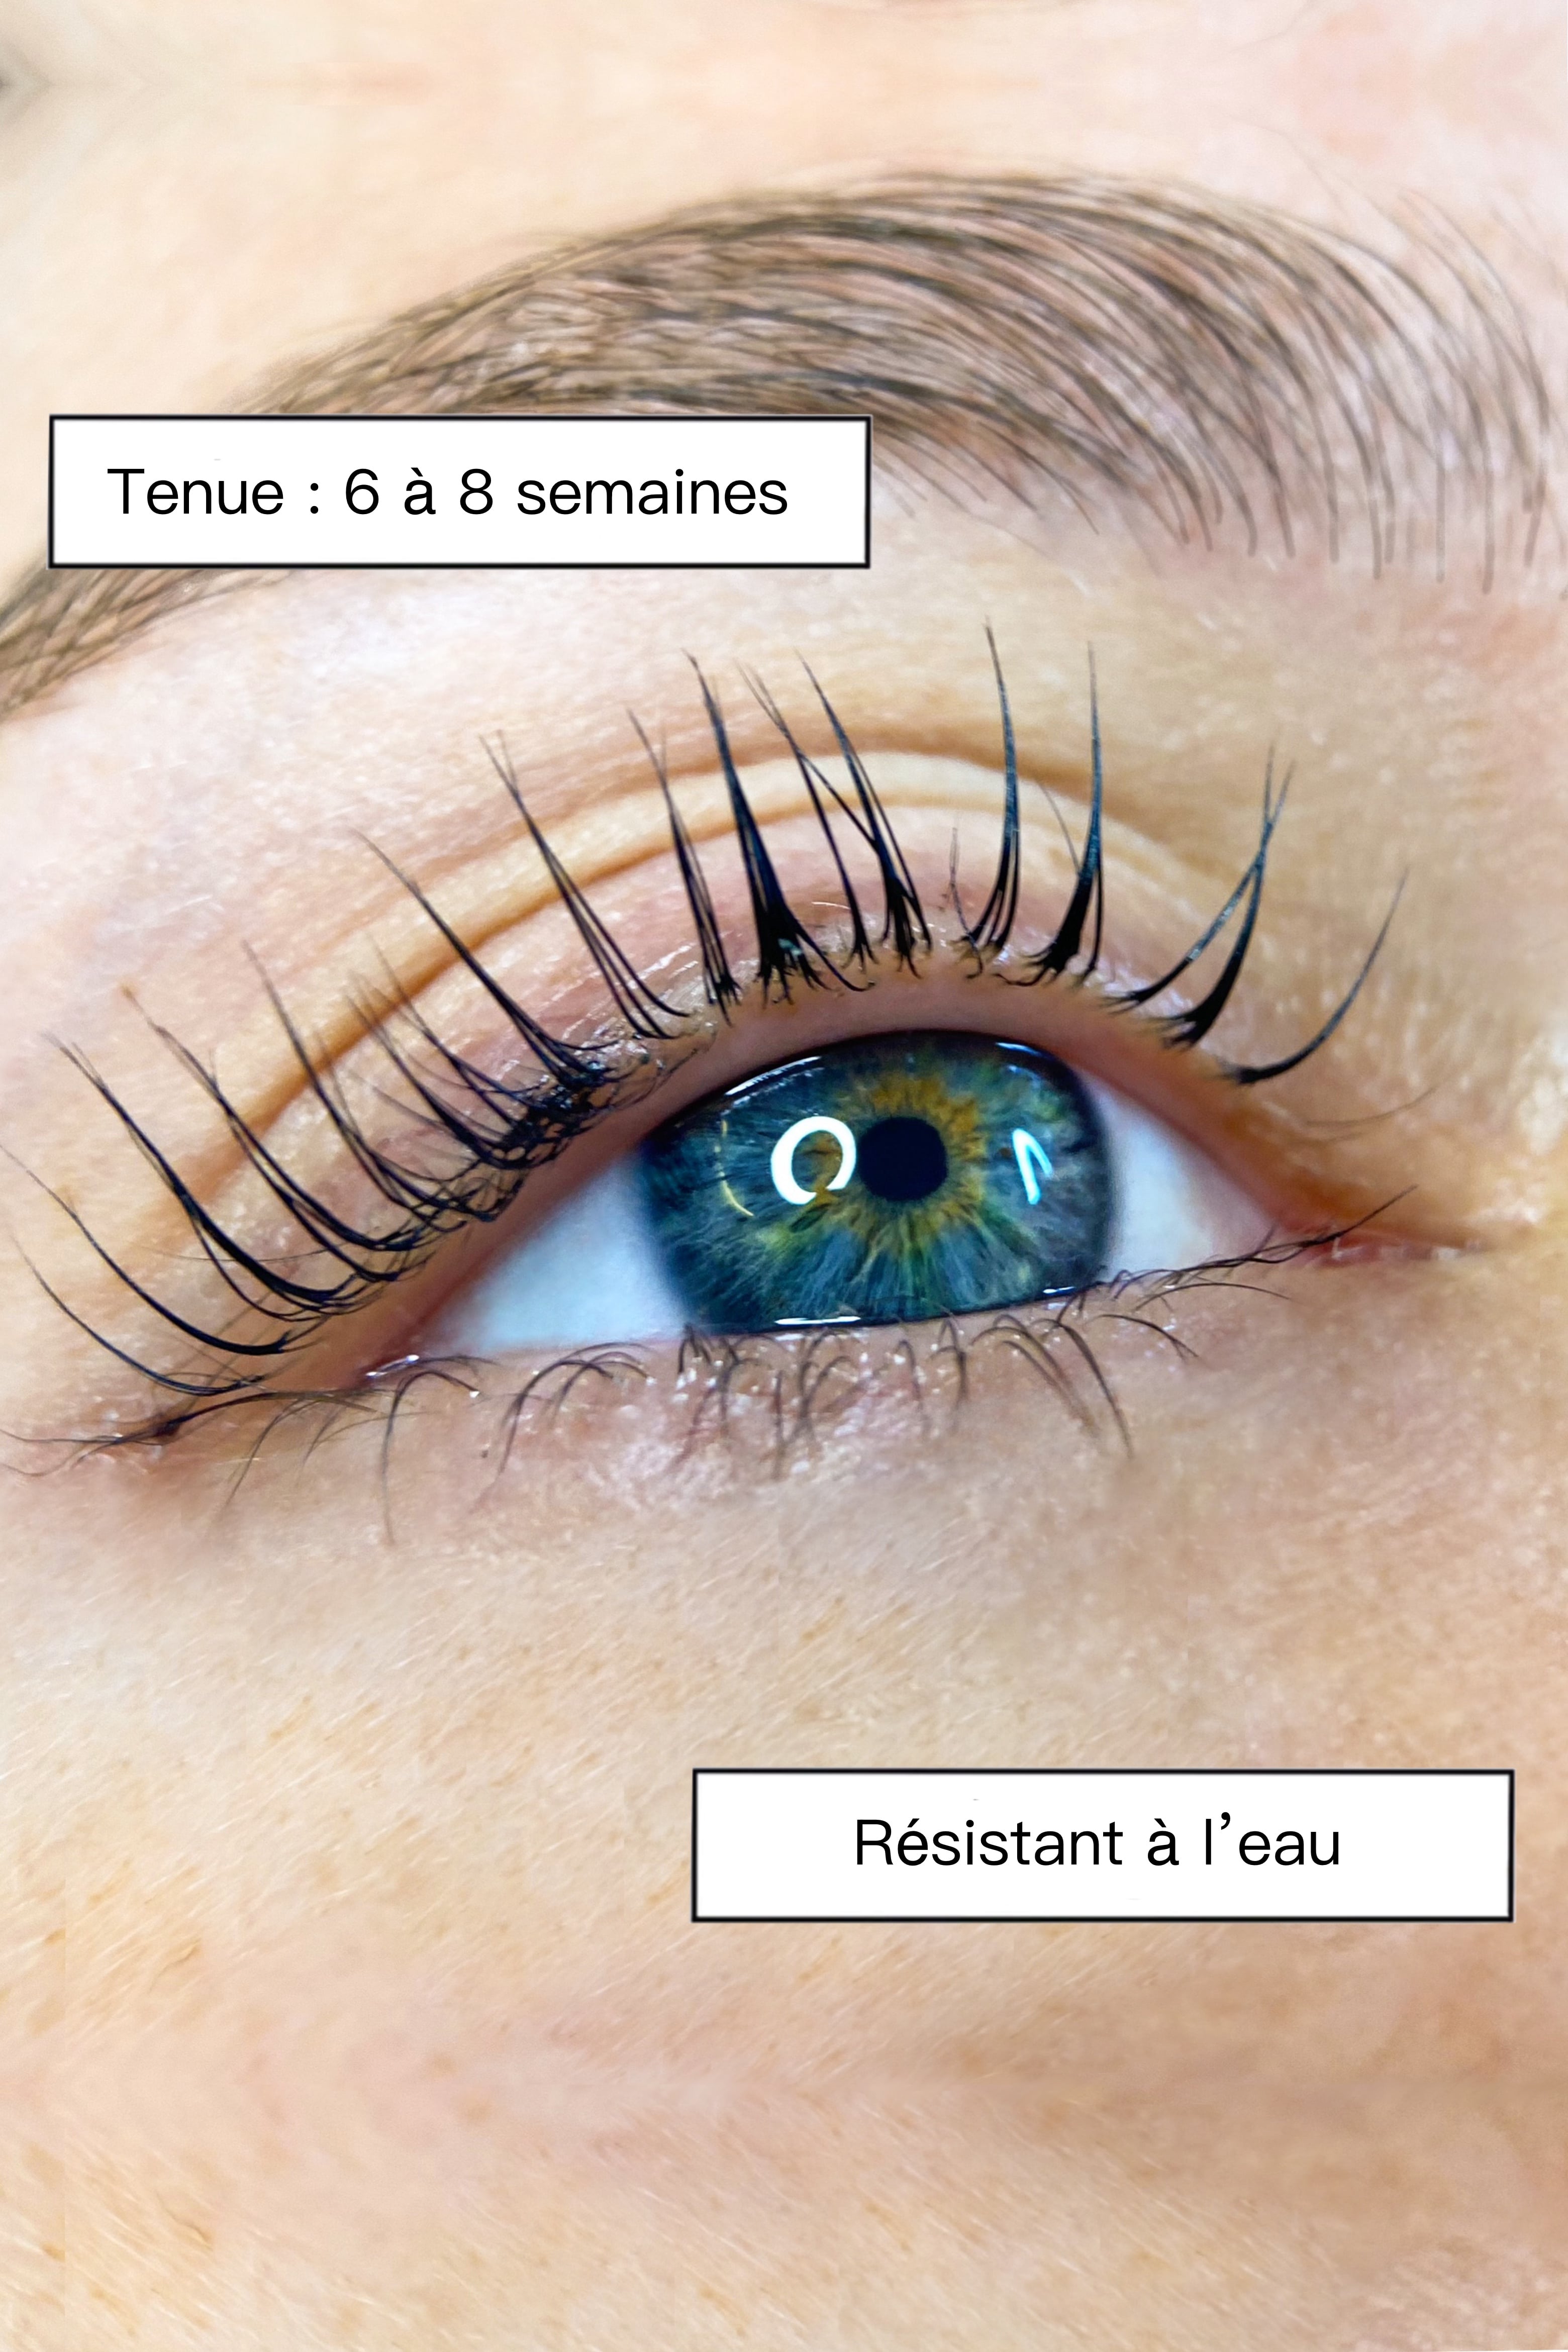
✅ Hold on eyelashes : 6 to 8 weeks
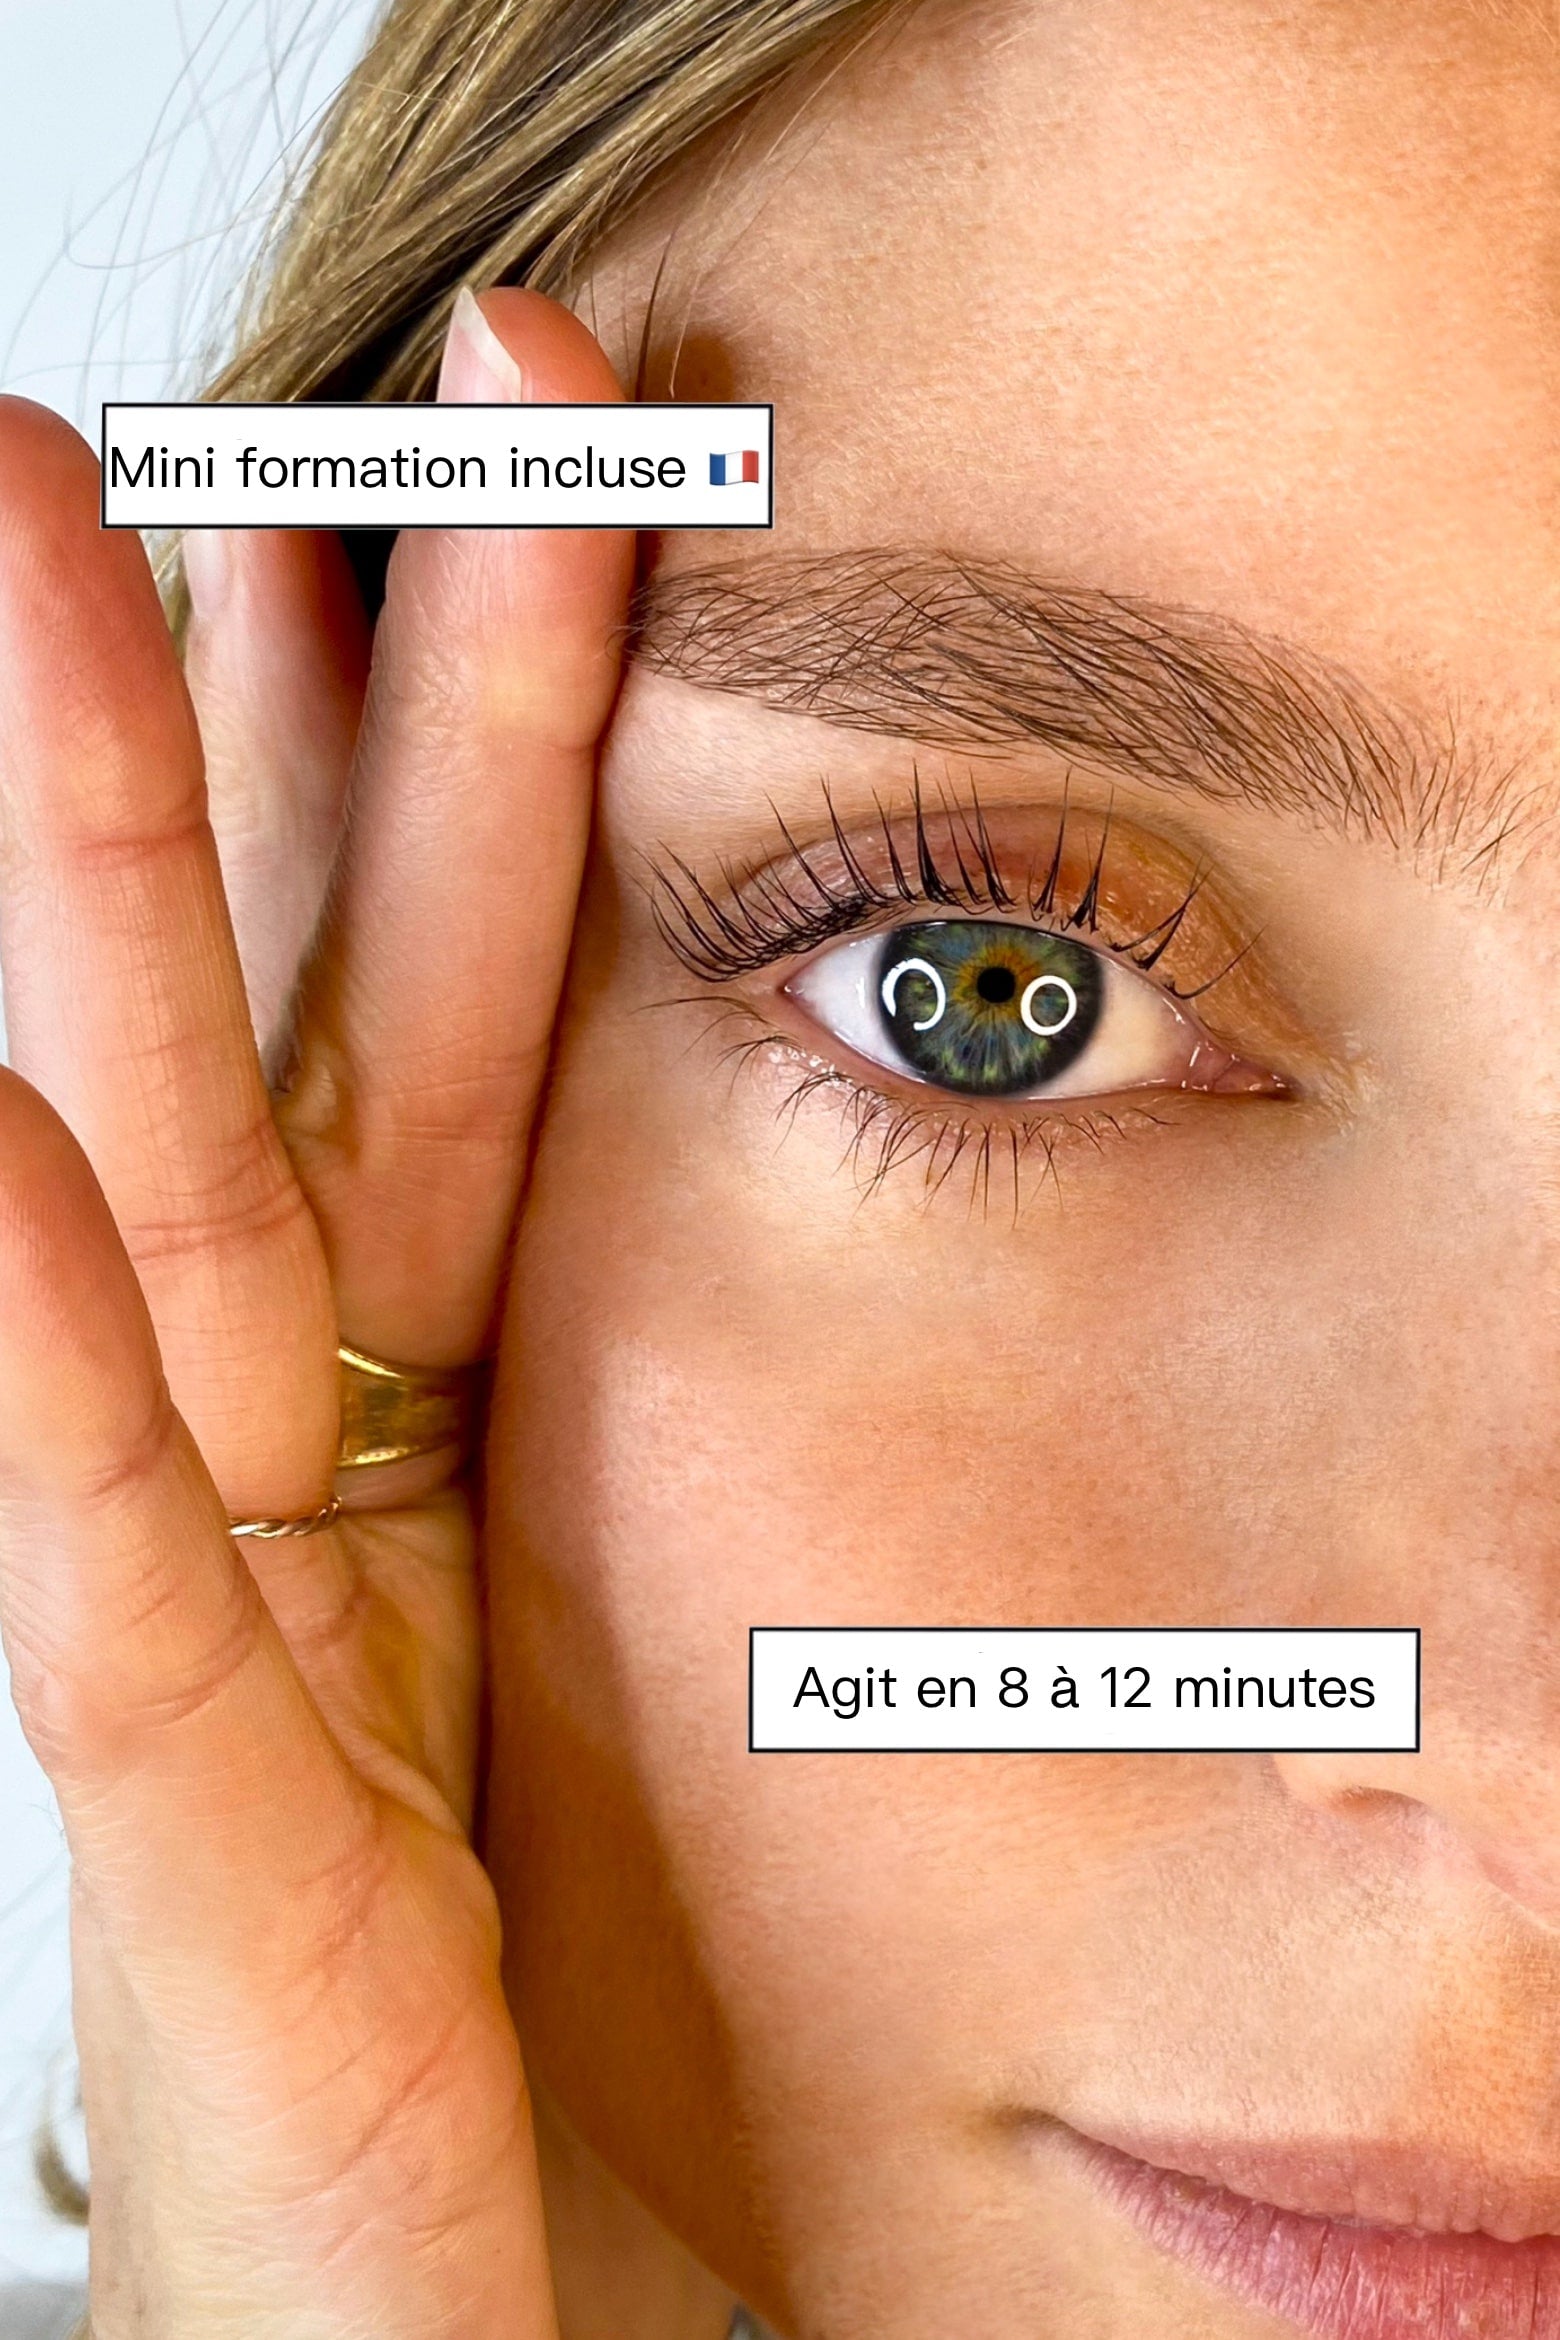
🕘 Quick exposure time : 8 to 12 minutes
🇫🇷 Explanations and guide in French (via the QR code)
✅ Airless bottle: Allows optimal conservation over time
✅ 6 Sizes of curlers to fit all eyelash lengths. The curlers are latex-free ( S, M, M1, L, L1 and XL)
➡️ Professional use only
✅ Glue balm : allows you to work your eyelashes endlessly and without any difficulty
Suitable for all eyelash types: Whether your eyelashes are long, short, thick or thin, our kit is designed to fit all types of natural eyelashes. Our kit is also compatible with all eyelash tints .
✅ All our products are Latex-free
✅ Our products are stored in Airless bottles, allowing for better conservation of the product quality
Learn more about: How an eyelash lift works
How to do a professional eyelash lift
Whether you want to enhance your own look or you're a technician looking for quality products, this detailed guide will guide you through each step for spectacular results.
Eyelash Preparation
Before you begin, it's essential to prepare your natural lashes for optimal results. Make sure they're free of any makeup, mascara, or oily residue. To do this, we recommend using the eyelash shampoo available in our Maison Regard store. Apply it with a brush specially designed to remove particles invisible to the naked eye. Once your lashes are perfectly clean, you're ready for the lift!
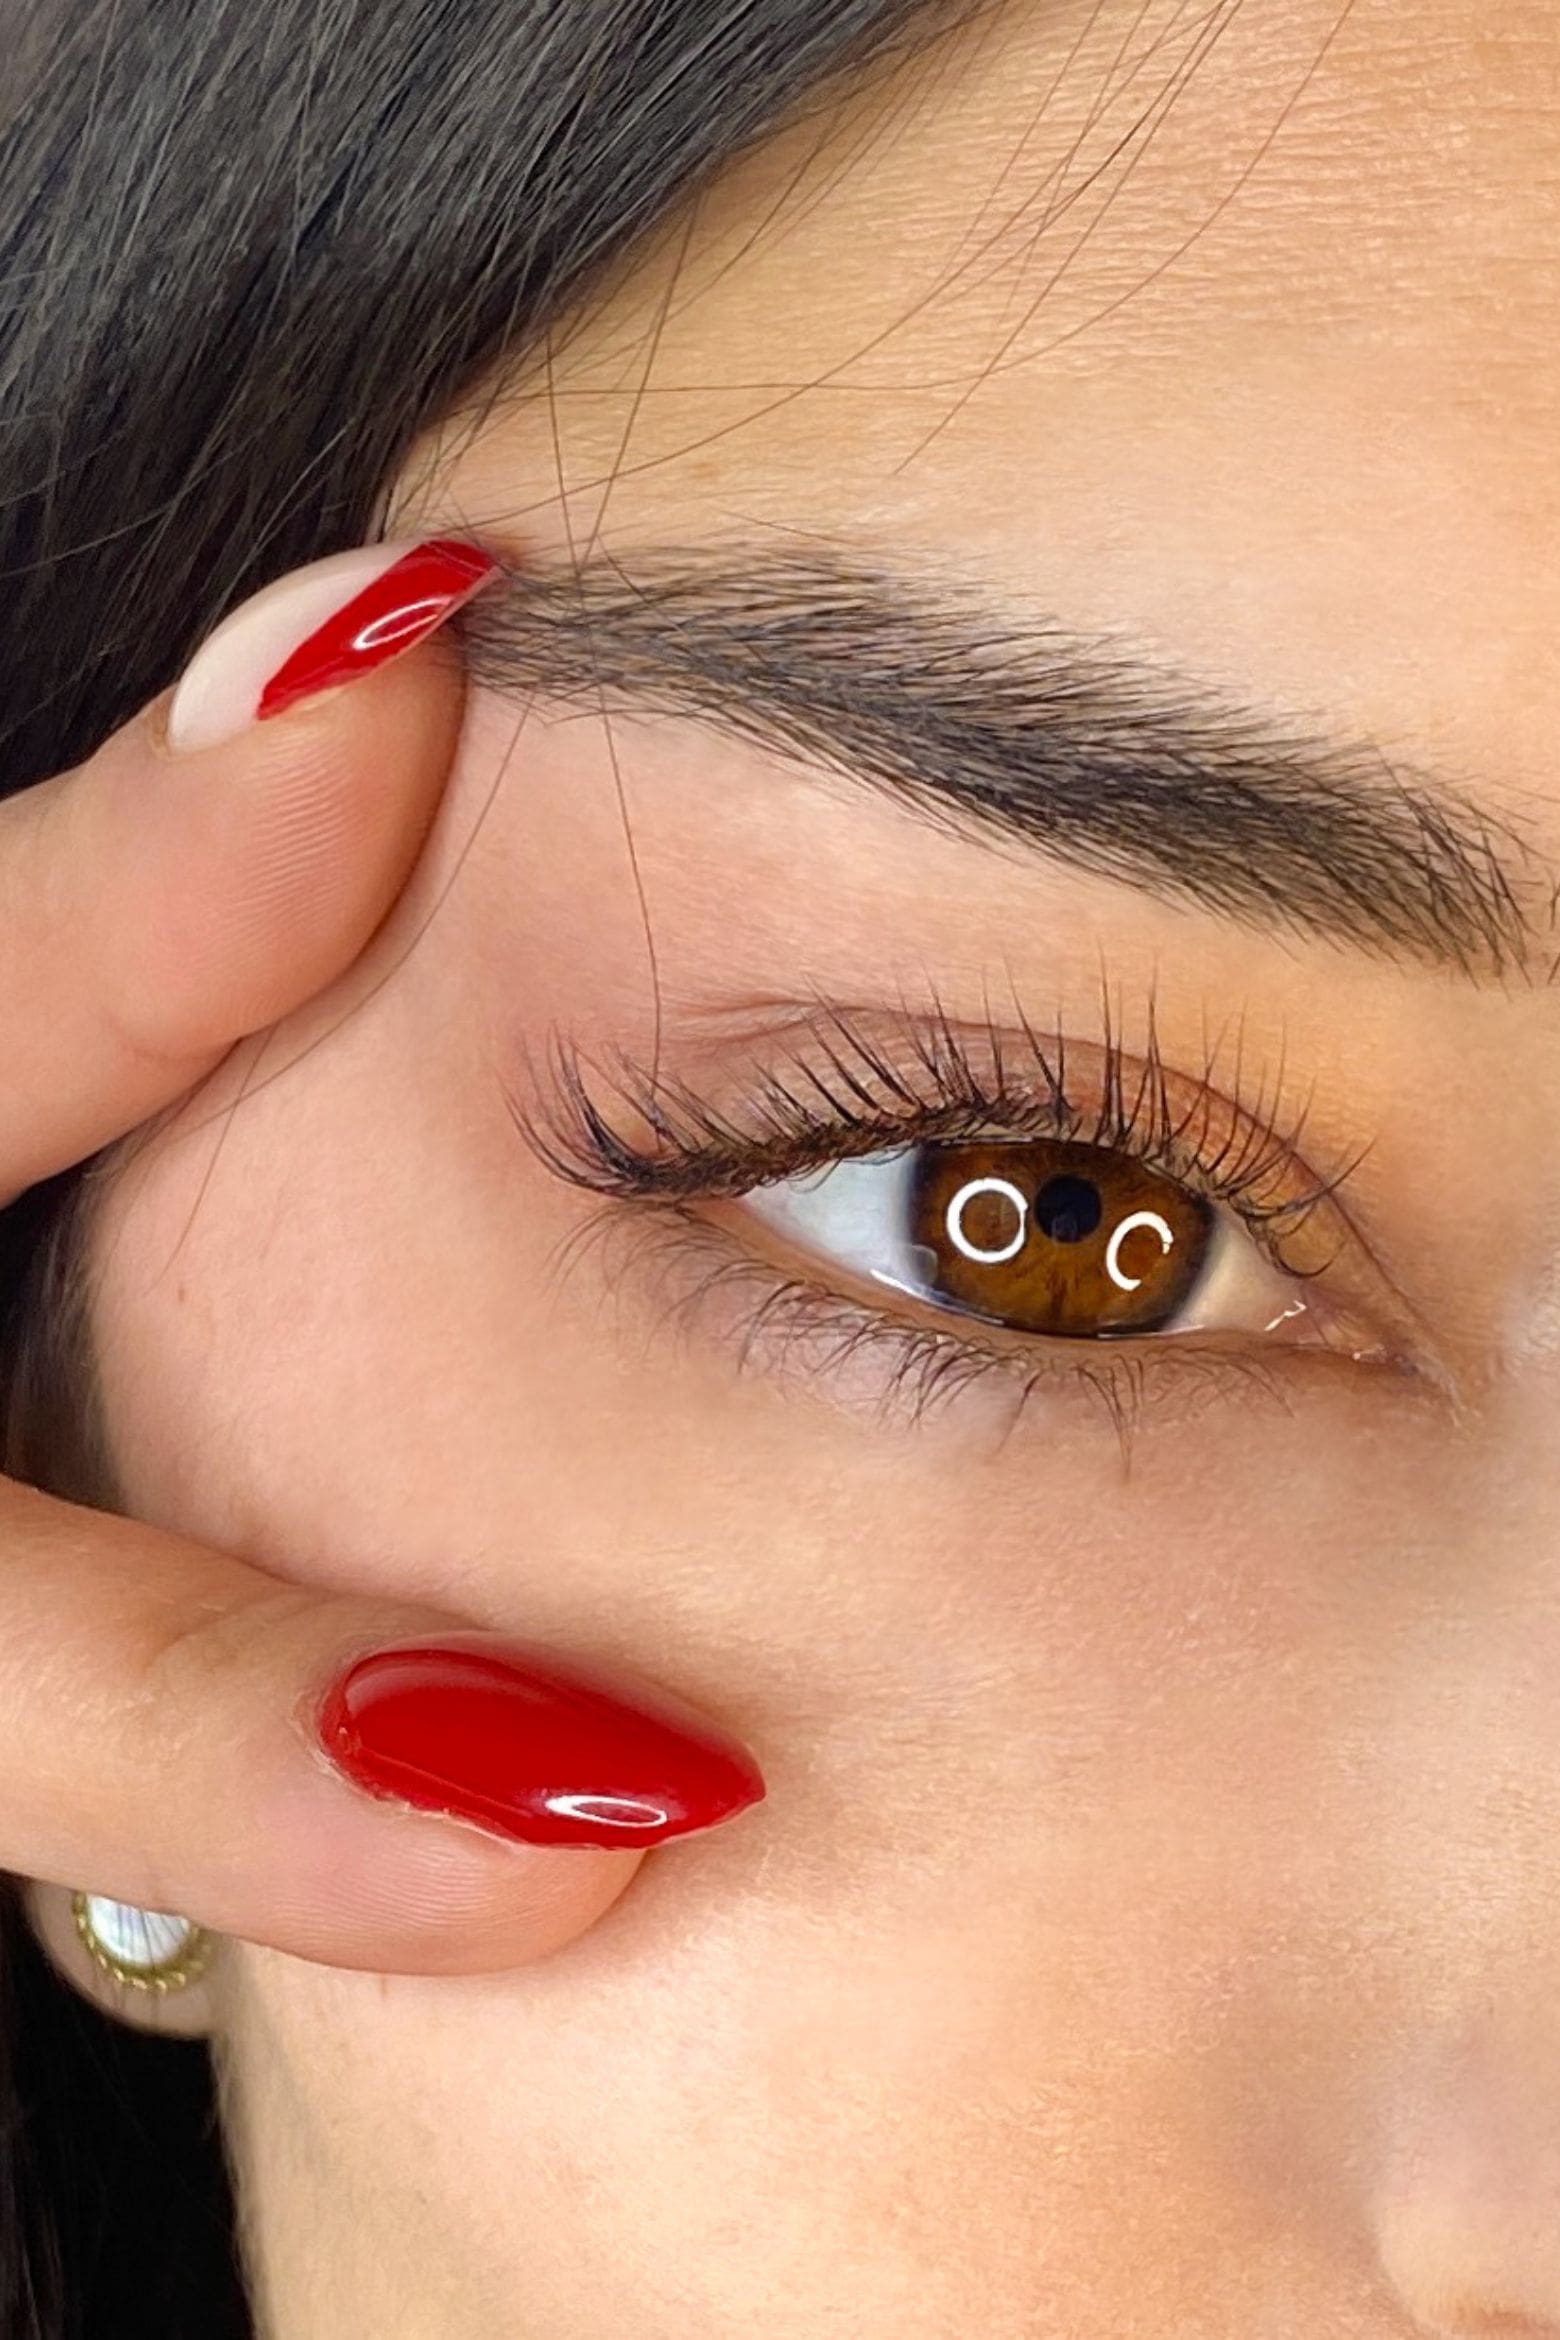
Choosing the Right Curler
The kit includes several sizes of curlers , marked with a letter indicating their size. It is crucial to select a curler according to the length of your lashes: a curler that is too large for short lashes may result in a weak curl. Take the time to test and adjust the size for a harmonious and natural curl.
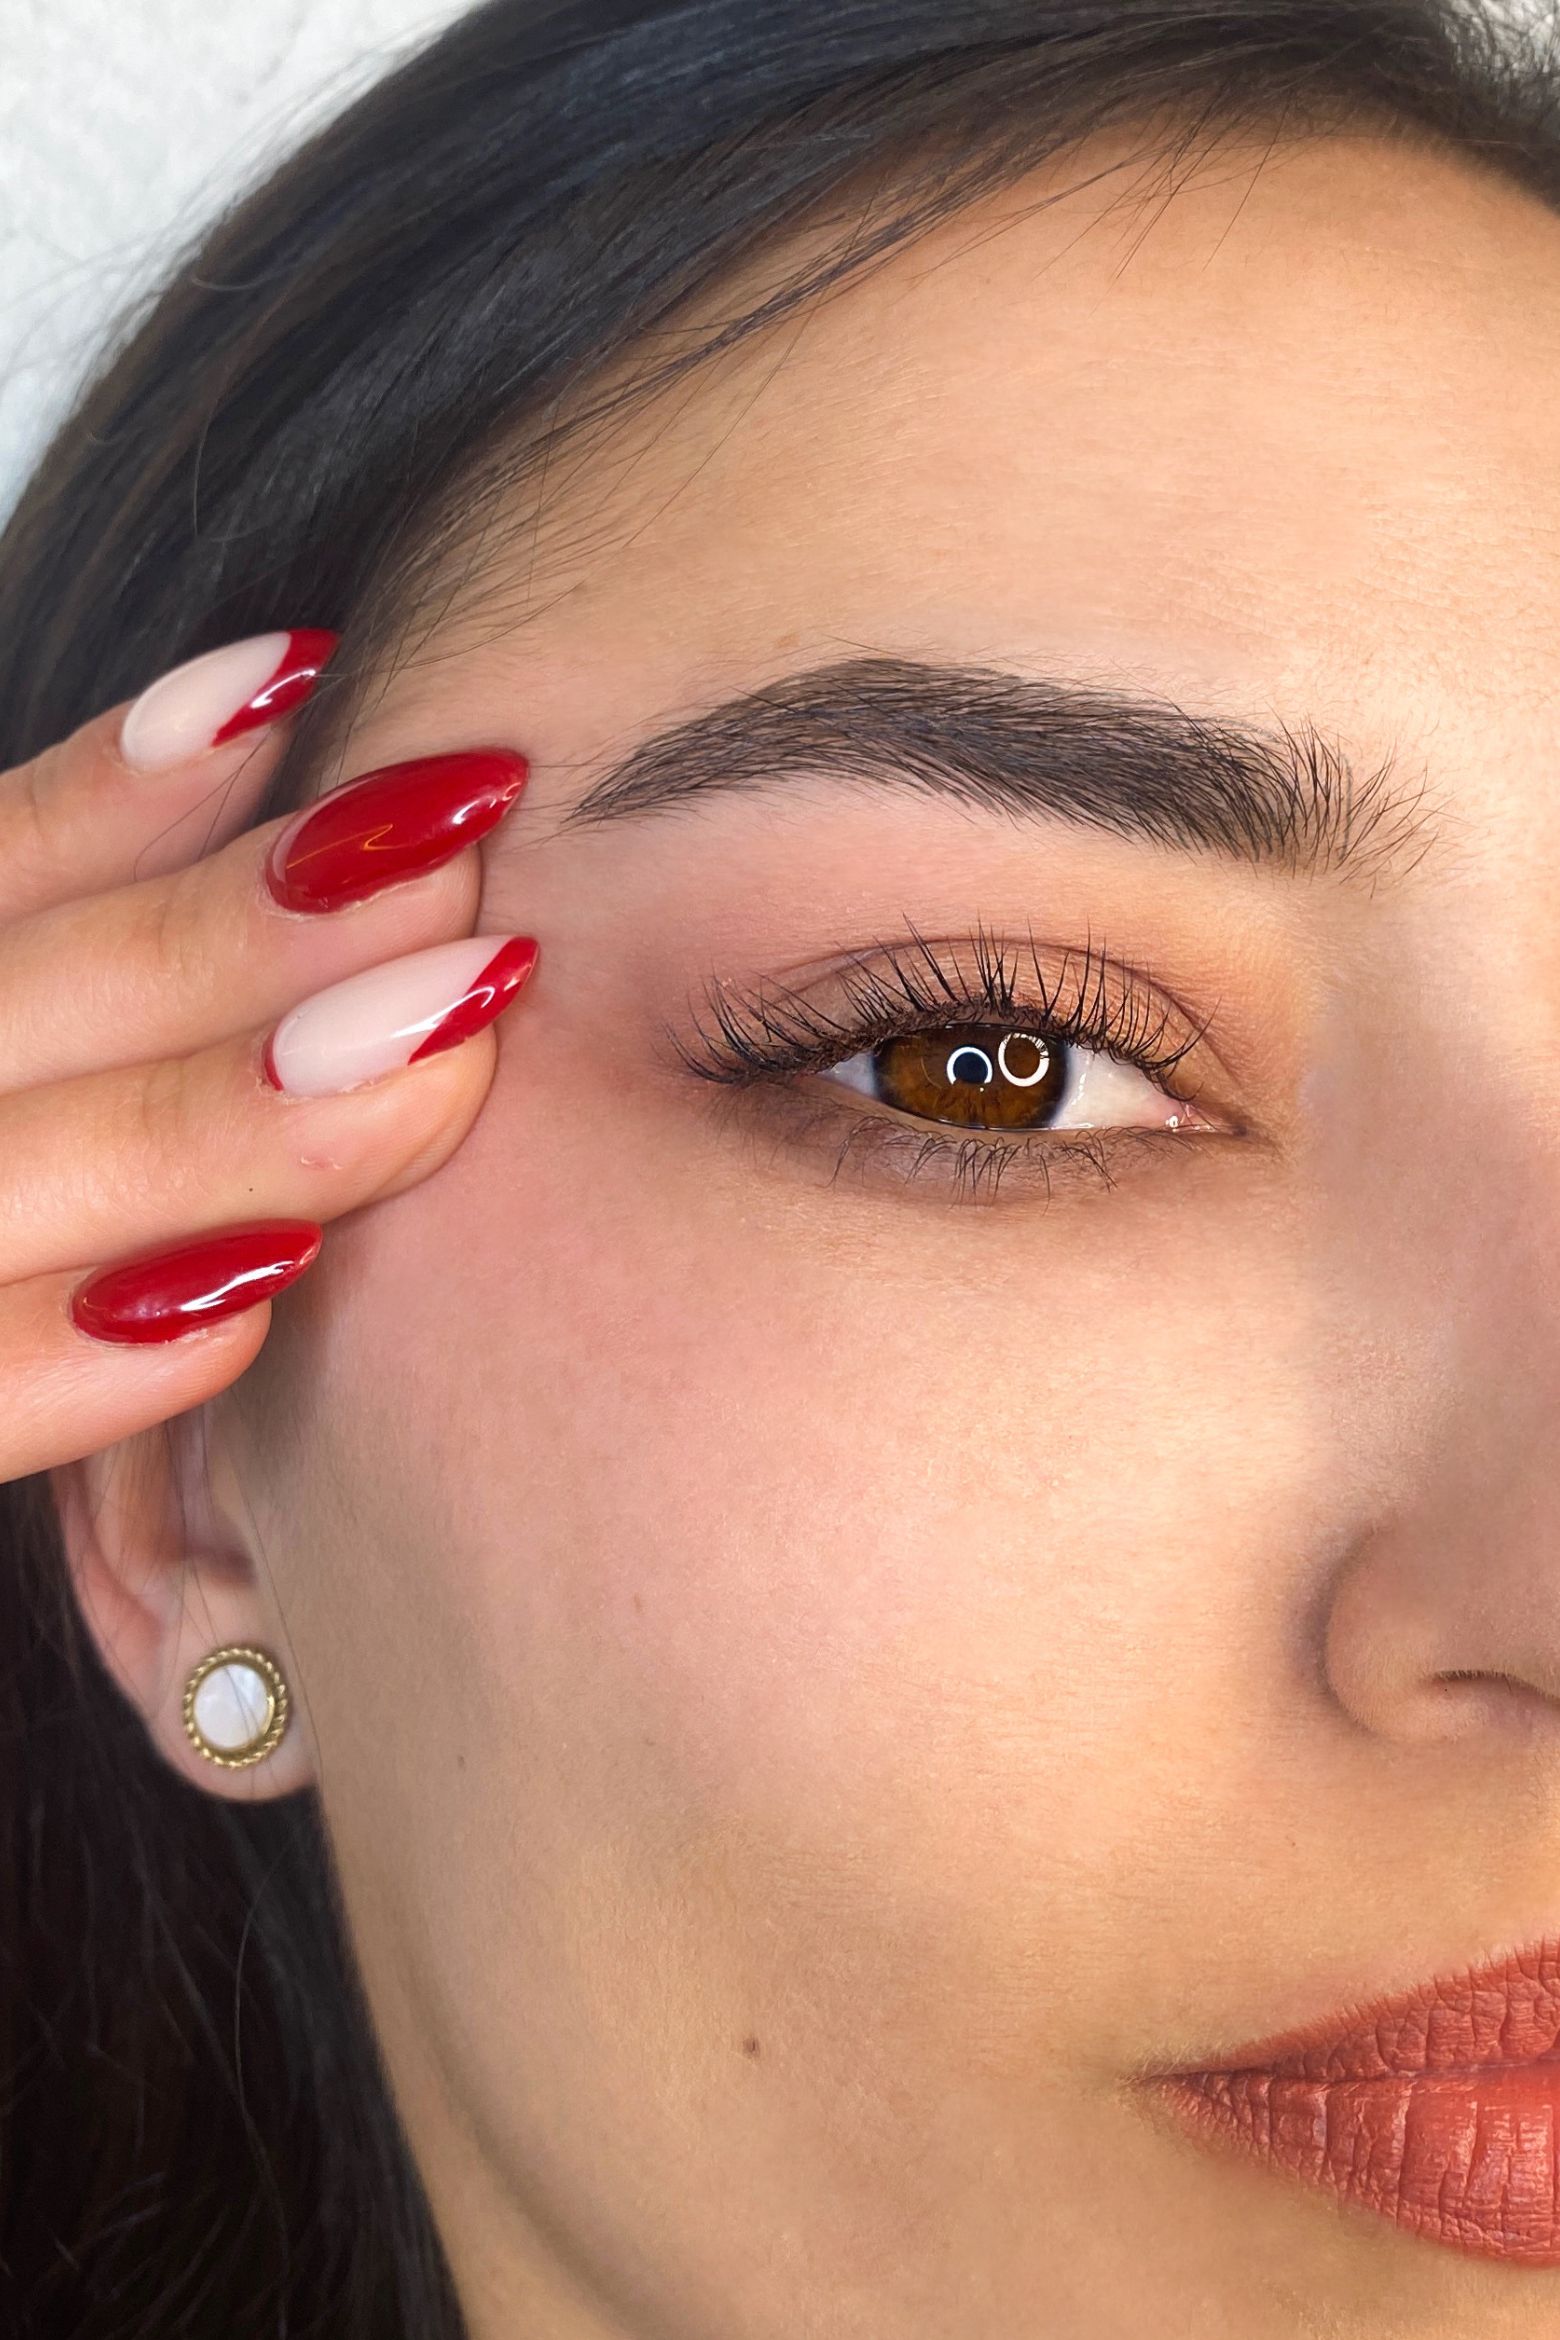
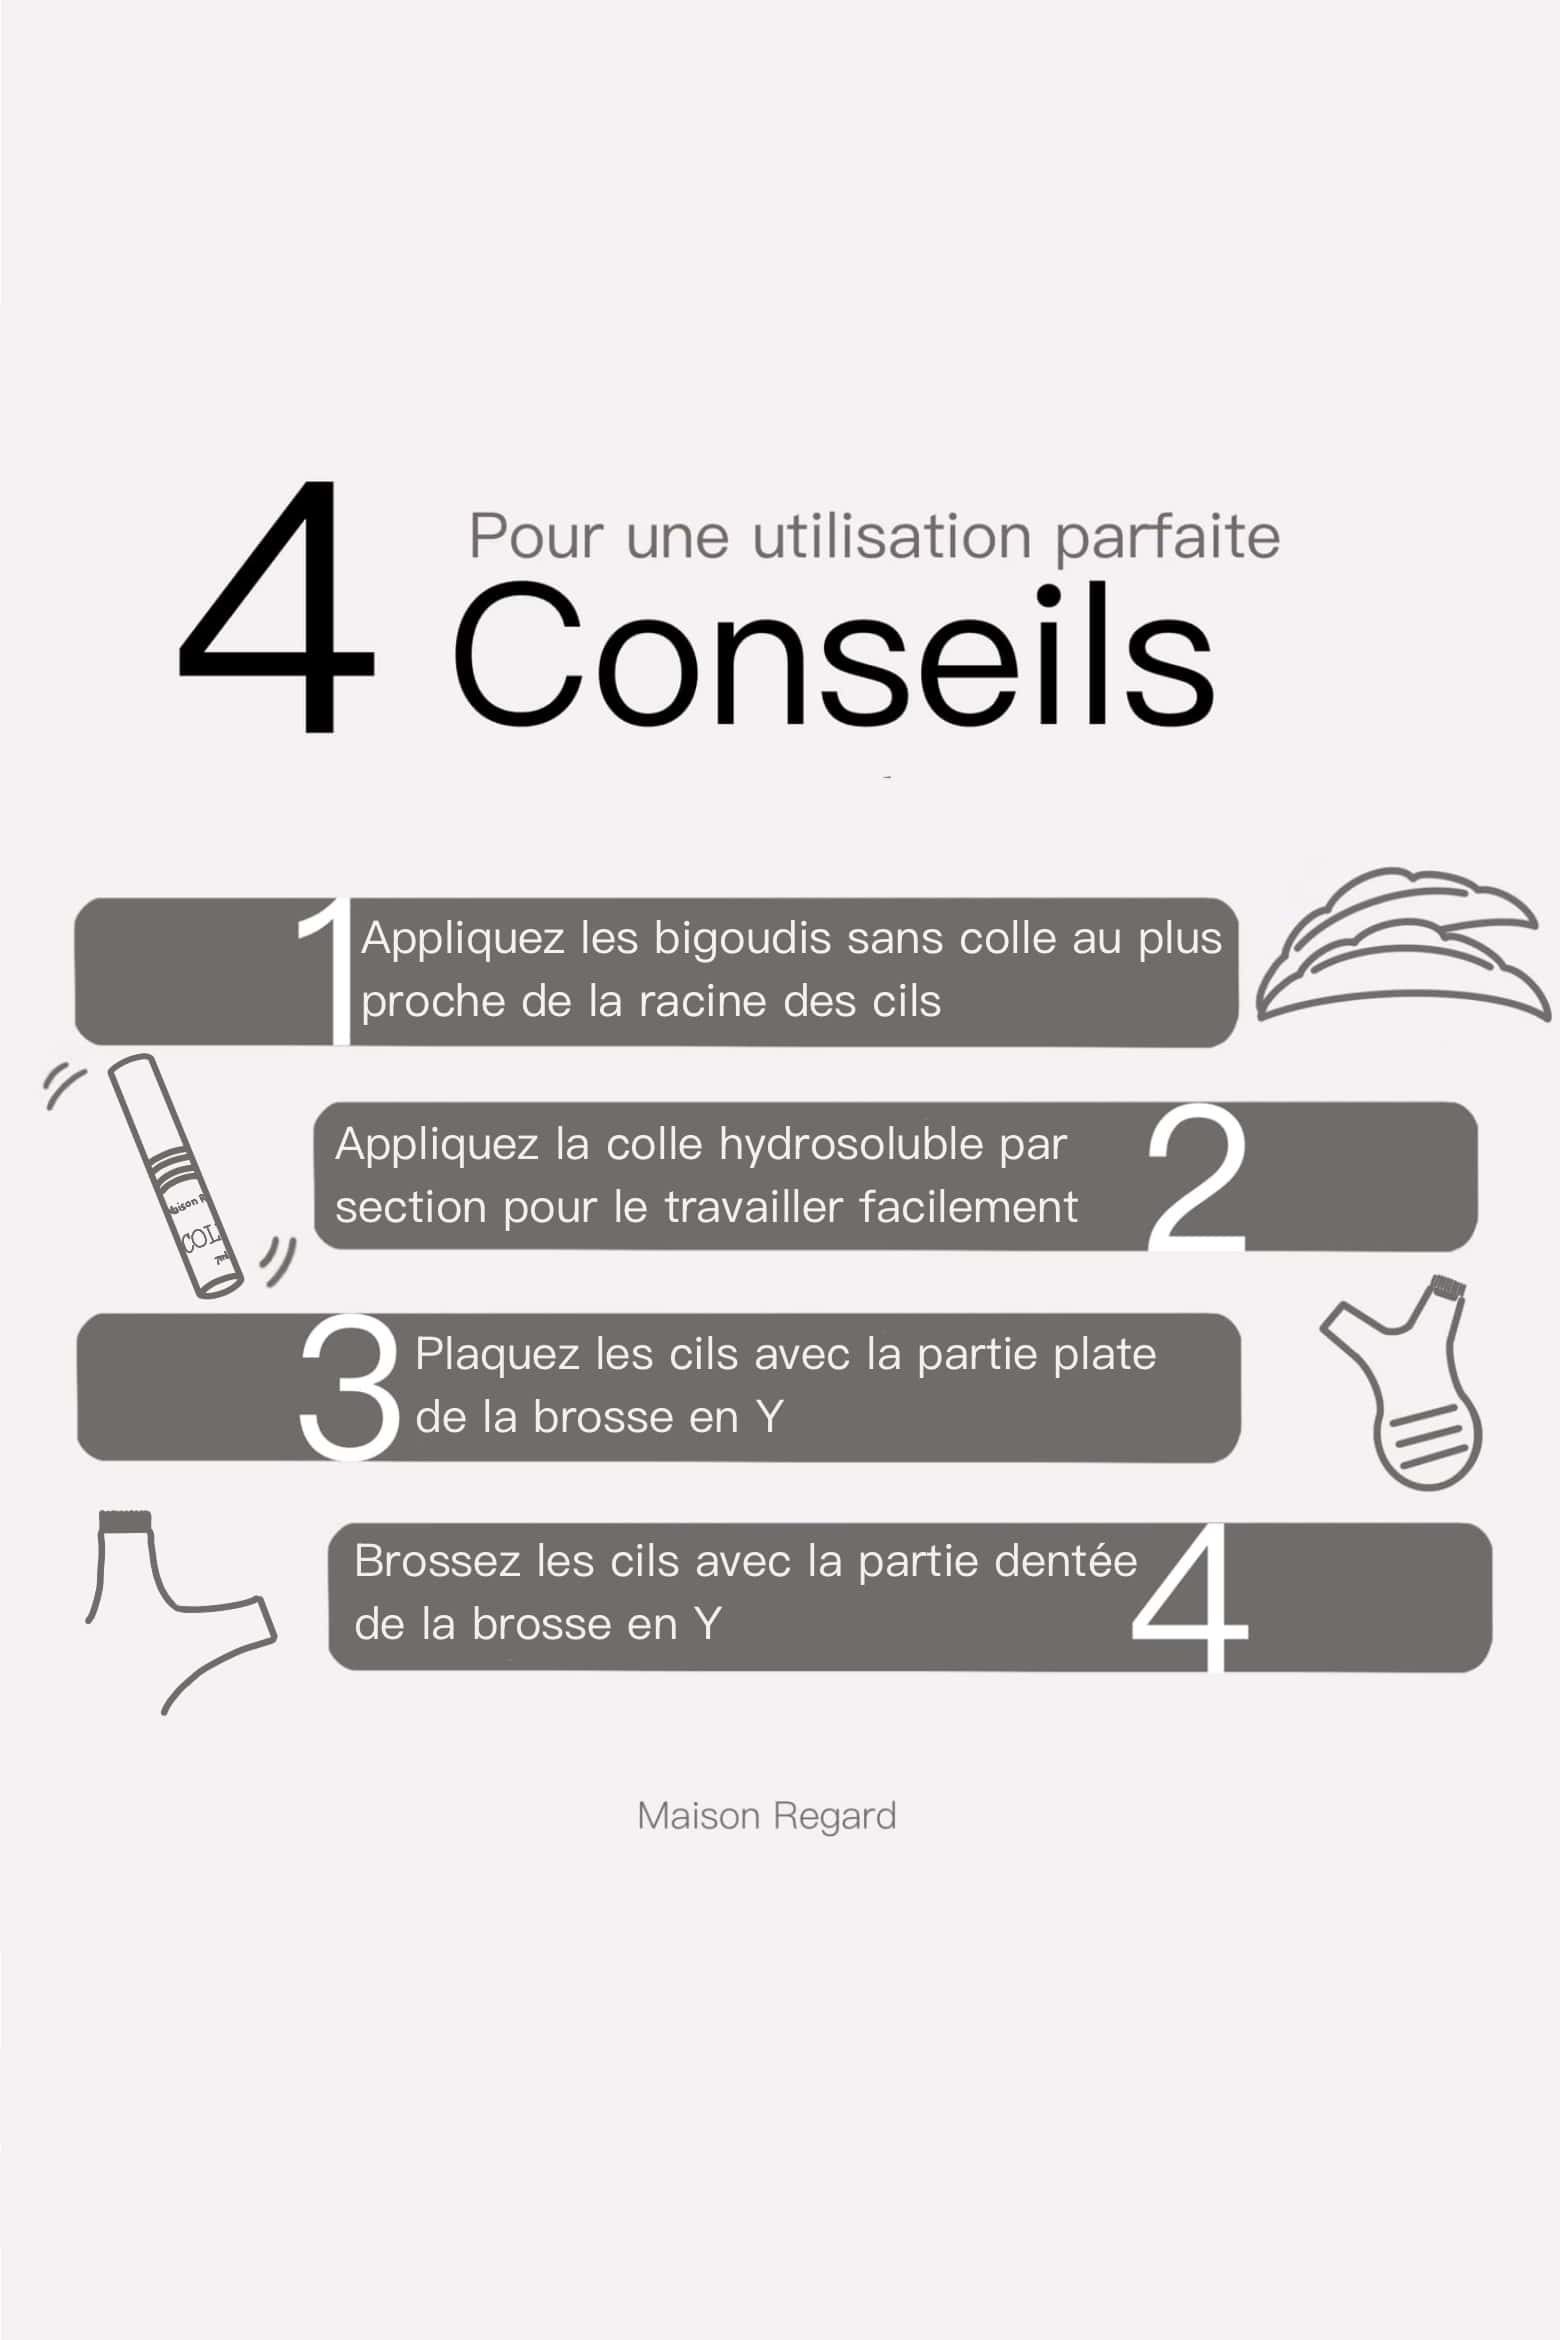
Applying the Glue and Fixing the Curler
The glue included in the kit is multifunctional. It is used to attach the curlers to the eyelids and to adhere the eyelashes to them. Apply it evenly over the entire surface of the curler, paying particular attention to the outer and inner corners, as these are the areas most prone to detachment. Then position the curler as close as possible to the roots of your lashes and let it dry for a few seconds.
Positioning Eyelashes on the Curler
Using the small tool provided, which has a flat side and a toothed side, gently fold your lashes onto the curler. Use the toothed side to comb and separate the lashes, ensuring an even result. Apply the glue in sections to help the lashes adhere. Patience and precision are the keys to ensuring each lash adheres properly.
Application of the Permanent
Once your lashes are firmly set, it's time to apply the perm . Soak a cotton ball in the number one perm lotion and carefully apply it along the lash line. Be careful not to touch the mucous membrane to avoid any burning sensation. Depending on the texture of your lashes, leave the perm film on for between 8 and 12 minutes : thin lashes will need less time, while thicker lashes will benefit from a longer application time for a long-lasting effect.
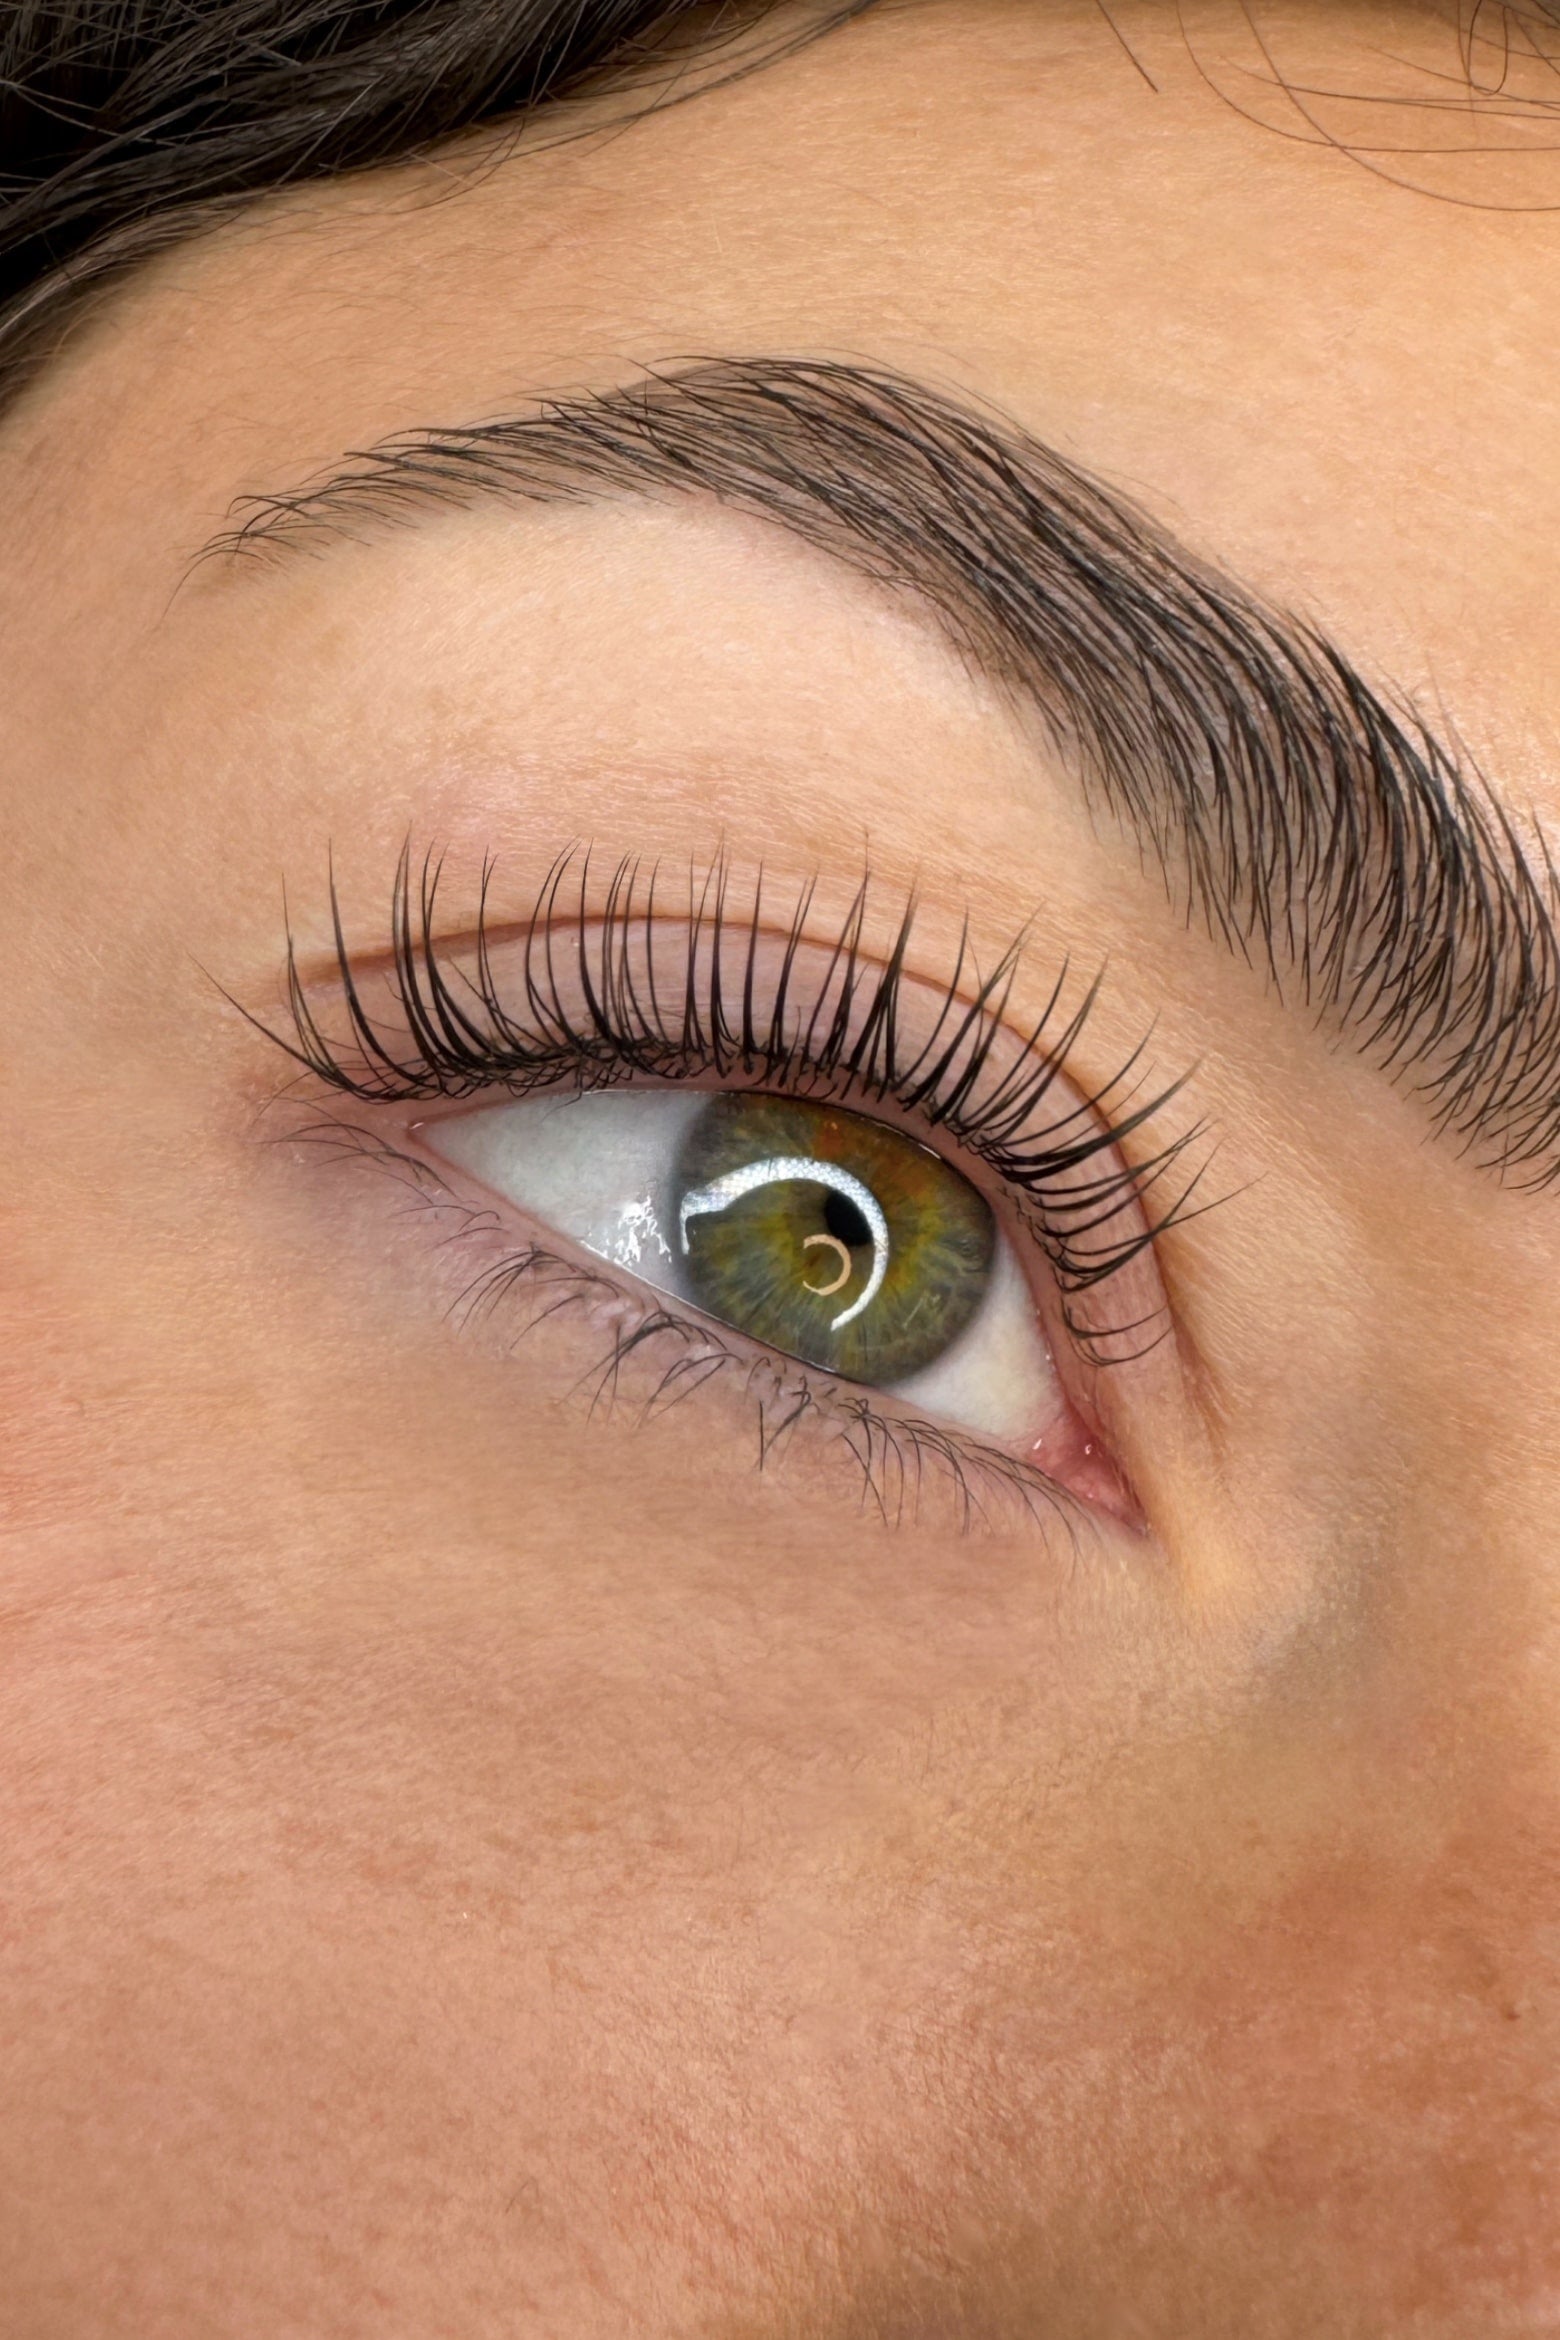
Finishes and Result
After the application time, you will be able to observe a natural and curved lash lift. By following these steps and using quality products, you will achieve a sublime and open look, effortlessly every day.
The Maison Regard kit allows you to achieve salon-quality eyelash enhancement at home!